The best tire inserts for mountain biking – 5 tire inserts in direct comparison
Tire inserts are becoming increasingly popular across all mountain bike disciplines, helping protect your wheels and reducing the likelihood of punctures. But are tire insert the ultimate remedy against flat tires and dented rims, or are they just extra weight that you don’t need to carry? In our 2023 tire insert comparison test we pitted 5 inserts against each other to tell you all the pros and cons of each model.
Table of contents: What to expect in the test
- The test field
- How we tested
- Installing our tire inserts
- Puncture protection
- Burping adieu
- Volume spacers for tires
- The drawbacks of tire inserts
- The perks of tire inserts
- The best tire insert
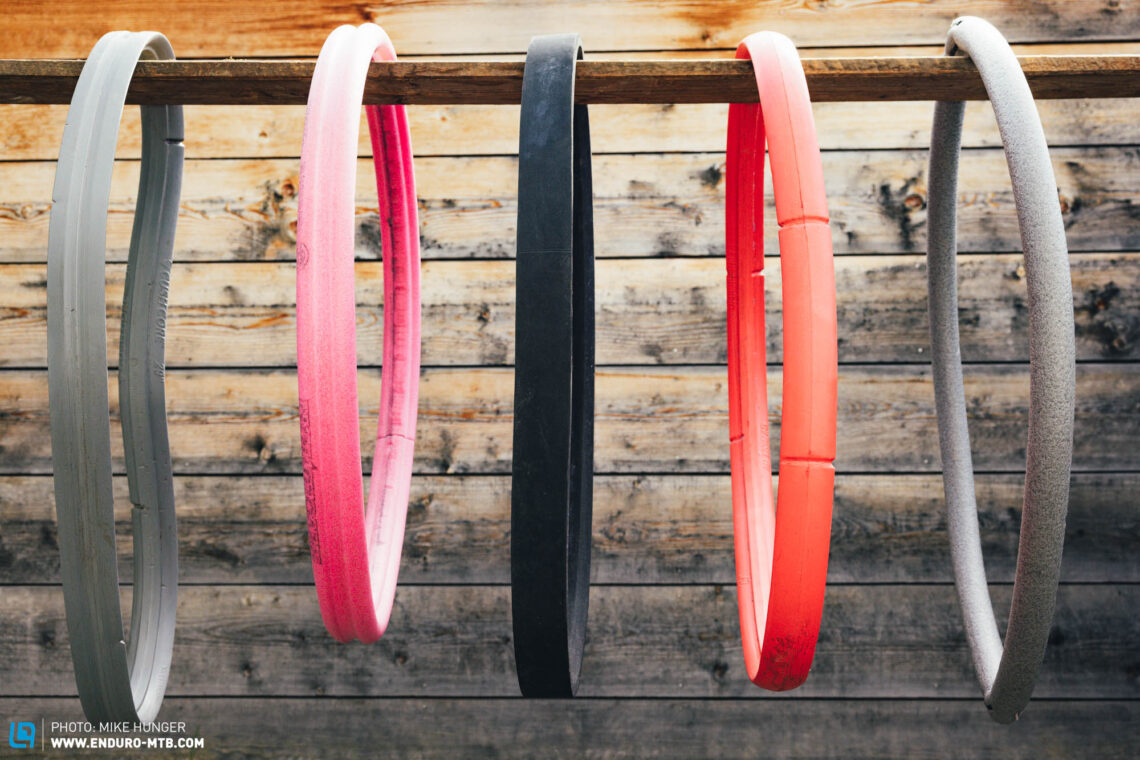
Mountain biking is a fickle ensemble of ups and downs, both literally and metaphorically. We’ve all been there: it’s a gorgeous spring morning and you’re having a whale of a time on your bike: the weather’s sweet, the dirt’s mint and your crew’s on fire! Unfortunately, nasty rocks are part of the game and even on your best day, they can put an end to the party, quickly and suddenly. Get distracted for a moment and… pffff… your tire’s shot, or even worse, your rim’s gone! One second you’re shredding on cloud nine and the next you’re sitting in trail hell. And that’s exactly what tire inserts are supposed to prevent. The idea is simple: place a foam ring between your rims and tubeless tires, and this will absorb impacts, improve puncture protection and at the same time ensure a more composed ride. We tested four commercially available tire inserts, along with a makeshift DIY noodle, to find out how they perform and which one delivers the best performance on the trail.



The test field: tire inserts, from DIY to Pro
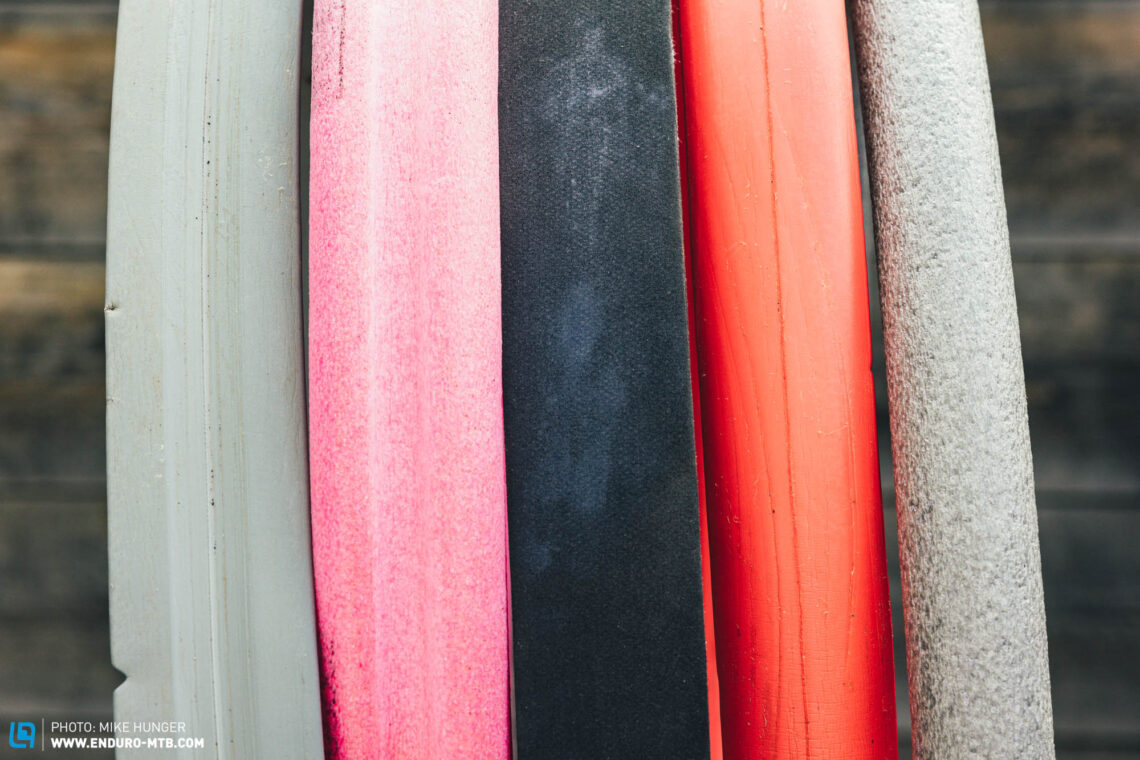
While tire inserts might look like fairly unsophisticated contraptions, the differences between the models we tested are huge, with weight alone ranging from as little as 40 g to over 300 g per insert – and that’s despite the fact that all of the candidates share similar dimensions. The main difference lies in the density of the foam, which determines the resistance of the material. There are also big differences in price, with the most expensive set of inserts retailing at just under € 180 and the cheapest candidate, our makeshift backer rod protector setting you back a total of € 14. To allow for a more holistic evaluation, we assessed the inserts’ ease of installation, trail performance and the level of puncture resistance, both in real life and in a high-tech lab. The higher the drop weight value of an insert, the better it protects your rims and tires.
| Tire insert | Weight per pair | Width x Depth | Price per pair |
|---|---|---|---|
| Hardware shop Backer rod (Click for review) | 82 g | 50 mm x 50 mm | € 14.04 |
| CushCore PRO (Click for review) | 442 g | 53 mm x 22 mm | € 179.95 |
| PTN R-Evolution (Click for review) | 220 g | 53 mm x 39 mm | € 95.00 |
| Rimpact PRO V2 (Click for review) | 286 g | 52 mm x 30 mm | € 107.99 |
| Technomousse Red Poison Evo (Click for review) | 606 g | 51 mm x 30 mm | € 179.98 |
How we tested the 5 tire inserts
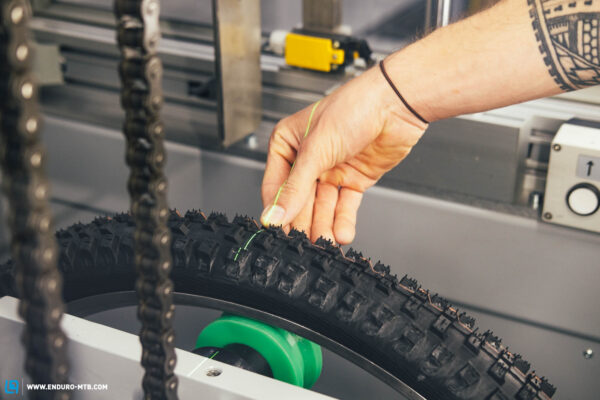
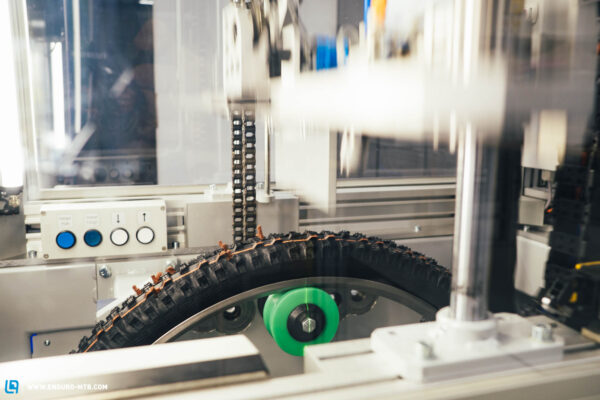
As mentioned before, we divided this test in three phases, assessing the inserts’ overall qualities in our workshop, in the lab and on the trails. In our workshop test, we installed the inserts to find out what the main differences are between the models, and which ones are particularly stubborn. For the empirical evidence, we teamed up with German tire expert Schwalbe to test the inserts for puncture resistance using their high-tech, in-house lab. Here the tires were fitted to a steel test rim and paired with a Big Betty tire with Super Gravity casing, which was inflated to a consistent 1.5 bar pressure throughout the test. We then dropped a 19 kg weight with a hard edge on the wheel, gradually increasing the drop height. The drop height at which the tire’s casing gets irreversibly damaged indicates the maximum value at which the insert protects the tire and rim. In this test, we were able to work out the impact force and energy transferred from the weight to the tire. However, we’ll spare you a headache and instead go straight to the different drop heights. As far as rolling resistance goes, the values hardly change with the different inserts, provided the tire is always set up with the same pressure. For this reason, we didn’t include the rolling resistance values below.
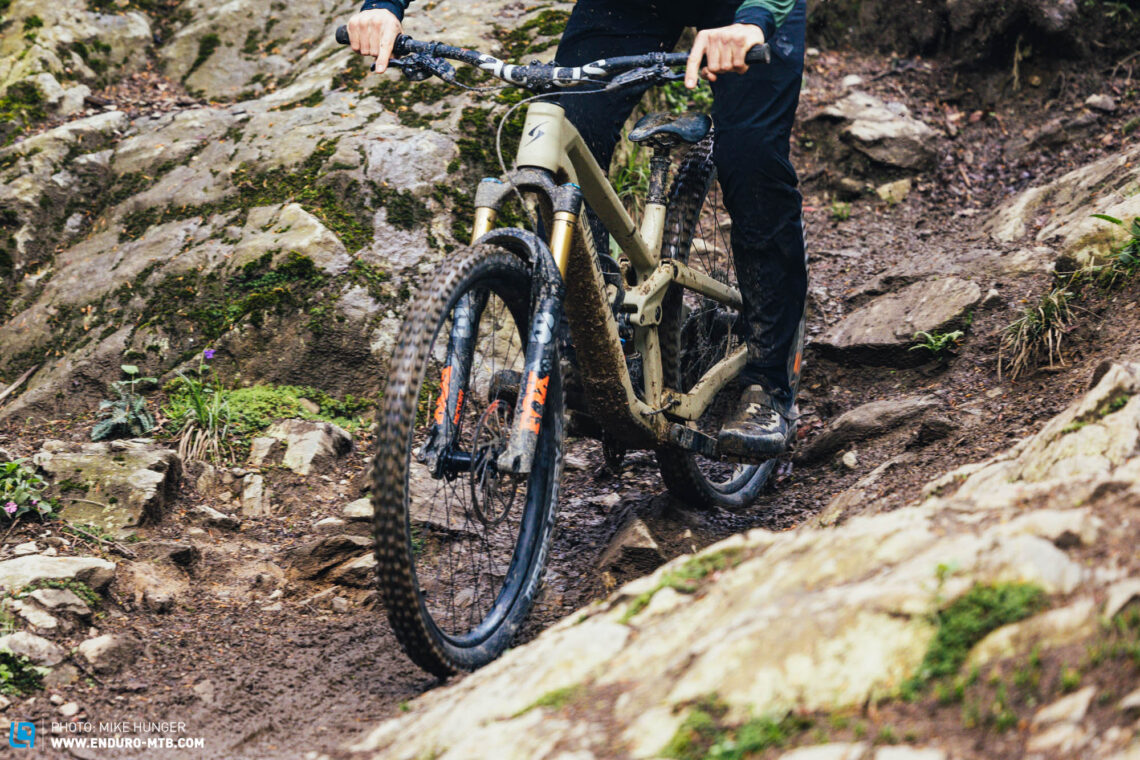
Needless to say, you can’t test a tire insert without putting it through the wringer on the trail. First off, we wanted to focus on how the different inserts influence the bike’s handling and overall riding behaviour, so we clocked endless laps using the same bike (each tester used their own) with the same wheel/tire setup. For the wheels, we used Stan’s Flow MK4 alloy rims, which were developed for tough enduro riding – an excellent match for this test. For the tires, we picked a popular Schwalbe combo, with a Magic Mary at the front and Big Betty at the rear, both in the robust Super Gravity casing. Both the casing and models of the tires are a realistic, suitable choice for a tire insert test. Using a thinner casing with inserts makes little sense, and you should always favour a tough tire with a good level of puncture resistance over a thin tire with inserts. This way, you’ll get a similar level of puncture protection without the additional weight of the insert.
To ensure the best possible comparability of the inserts, we clocked countless back-to-back laps on our test track, a technical trail with a diverse range of features, from fast corners and big jumps to nasty rock gardens and slippery root carpets, which push the rider, bikes and most importantly the inserts to their limits. Our test riders weighed between 70 and 75 kg and rode all inserts with a pressure of 1.4 bar at the front and 1.6 bar at the rear. As a reference, we also threw in several laps without inserts, where we increased the tire pressure to 1.6 bar at the front and 1.8 bar at the rear most of the time.

Installing our tire inserts – from hard to frustrating
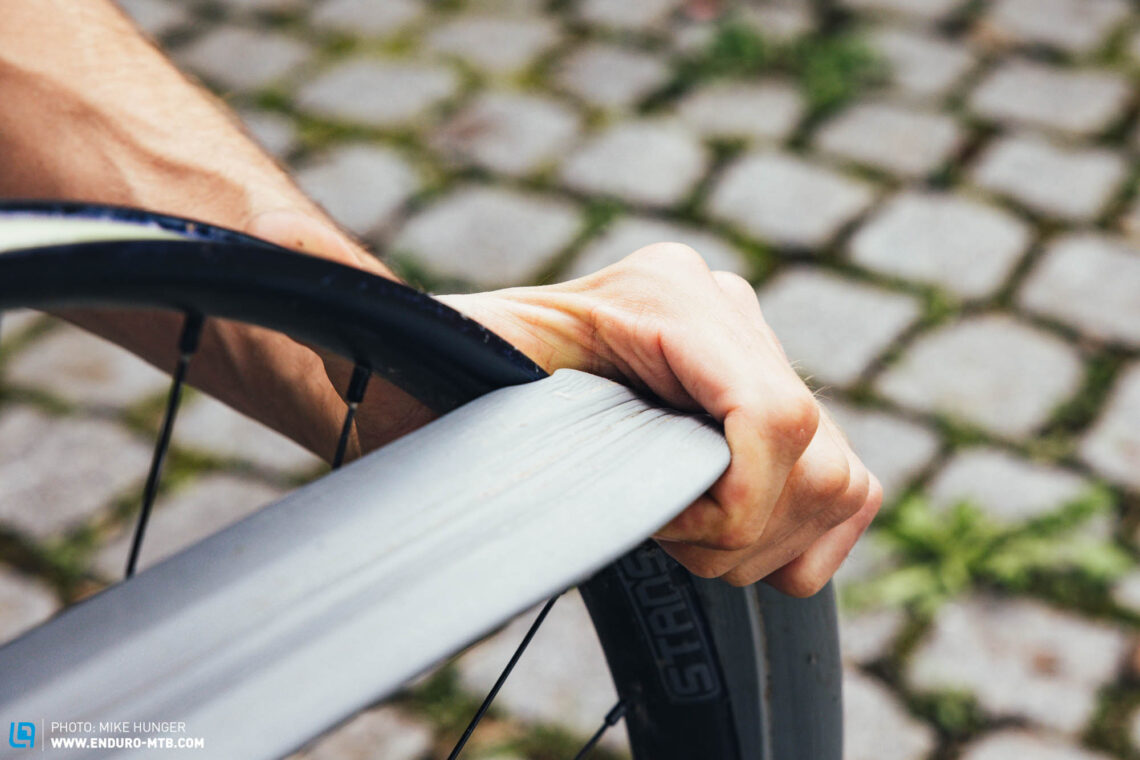
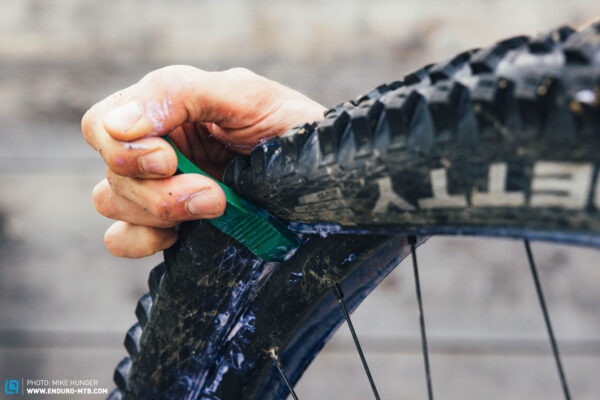
It’s no secret that tire inserts can be a real nightmare to install. Some inserts are incredibly tight, making it hard to pull them over the rim. Once they’re on, you have to tuck the tire bead under the insert to sit in on the rim. Unfortunately, this is the only way to get your tire over the insert and onto the wheel. Especially with robust tire casings, this sounds a lot easier than it is, so we recommend taking your time, and perhaps asking a mate to help you – don’t do it in a rush before heading out on the trails. None of the inserts we tested were easy to install, and during this test we snapped off eight tire levers. CushCore and Technonmousse don’t stretch as easily due to the dense material and, for this reason alone, can be a real challenge to fit. PTN and Rimpact aren’t particularly heavy but rather voluminous, which makes it difficult to tuck the tire bead underneath them. Installing our DIY insert, on the other hand, didn’t involve any sweating or swearing. A little pro tip for you: most manufacturers have detailed instructions on their website, and sometimes even include a video tutorial. Nobody’s fond of Ikea-style instructions, but in this case, they’ll avoid stress and sweat.
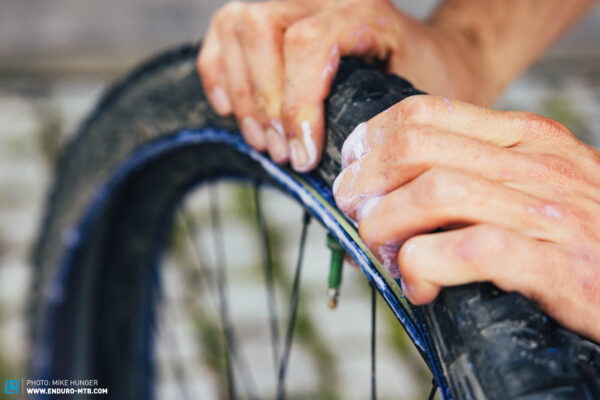
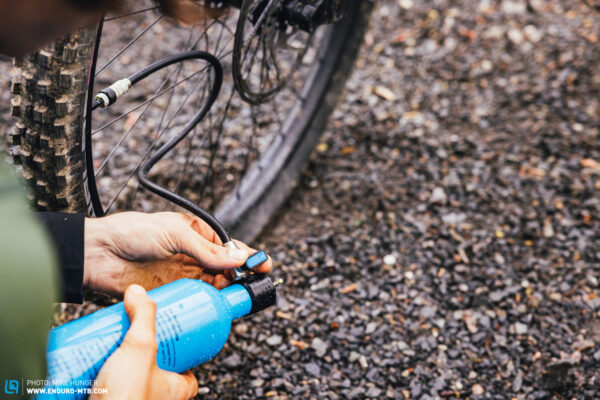
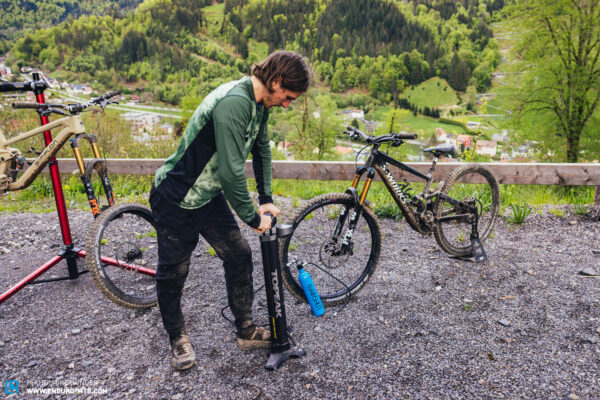
Be aware! Tire inserts require special tubeless valves that let the air move through the valve without being obstructed by the inserts. Furthermore, we recommend adding slightly more sealant than usual, as the insert provides an additional surface for the sealant to adhere to. Finally, it’s helpful to use a compressor or booster pump, just as with a conventional tubeless set-up. Both deliver a large volume of air quickly enough to push even the most stubborn tire bead onto the rim, making it easier to seat the tire. The simplest way is to get a booster canister, which allows you to inflate a tire quickly and easily without having to buy a whole new pump, and unlike a bulky compressor, doesn’t take up much space in your car or workshop. In our case, the Airshot canister did a great job.
Puncture protection – protecting your rims and your nerves
The additional puncture protection provided by tire inserts not only prevents irreversible rim damage, but also ensures that a perfect day out on the mountain doesn’t end in a three hour hike back to the carpark. Of course, tire inserts aren’t a failsafe “get out of jail free card”, and every wheel will eventually buckle if the impact is too strong. But even with a flat tire, a tire insert allows you to roll back to the car without rendering your rim useless. The lab test clearly showed that all materials have their limitations and that even the firmest foam insert gets sliced at some point. That said, the differences between the five models are huge, and this became quickly evident during our lab tests. As a rule of thumb, however, the heavier the insert, the higher its protection level. With a drop height of 720 mm, the solid Technomousse insert ensures by far the highest protection level in the entire test field. Our lightweight, 40 g DIY backer rod, on the other hand, provides no protection at all, reading just 510 mm in the drop test, which is exactly what the Big Betty Super Gravity tire achieves without an insert. Our lab test also proved that upgrading to a tougher tire casing decreases the likeliness of punctures rather drastically, with the lighter Big Betty version with Super Trail casing throwing in the towel at just 330 mm in our drop test.
| Manufacturer | Impact Protection |
|---|---|
| Hardware shop | 510 mm |
| CushCore | 665 mm |
| PTN | 630 mm |
| Rimpact | 630 mm |
| Technomousse | 720 mm |
| Big Betty Super Gravity | 510 mm |
| Big Betty Super Trail | 330 mm |
Burping adieu – More sidewall support through tire inserts
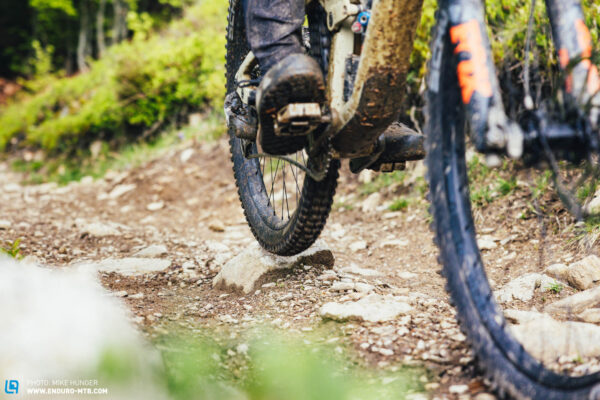
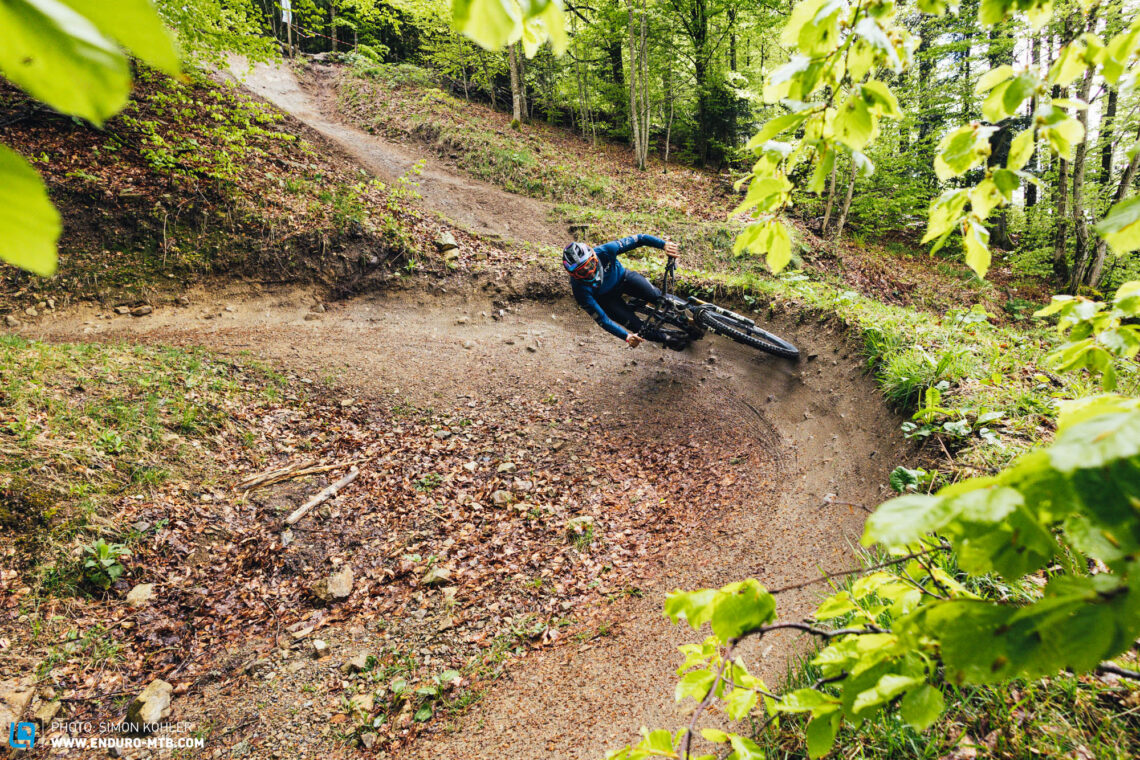
Thanks to their wide profile, tire inserts also help stabilise the sidewalls, preventing the bead from popping off the rim. As a result, tire inserts are a particularly interesting option for heavy riders, berm slicers and shralp-hooligans. Even if you don’t pop your tires off the rim on a regular basis, you’ll benefit from tire inserts, because the additional sidewall stability they provide prevents the tire from buckling under your weight, ensuring a more direct ride feeling in fast berms and strong compressions. In a nutshell, the tire doesn’t feel as spongy, allowing you to carve through fast berms at Mach 10, even with low tire pressures.


Volume spacers for tires – How the air chamber influences the ride
An obvious advantage of tire inserts is that they allow you to run lower tire pressures. Not as obvious, however, is that the insert reduces the air volume of the tire, ensuring more progressive damping. In a nutshell, using a foam insert in your tire is a little bit like adding volume spacers to your fork: the smaller the air volume and the lower the pressure, the more sensitive the air chamber is to small impacts. As a result, the tire filters out the small chatter of the trail more efficiently, improving riding comfort and reducing hand fatigue. That’s why we would always recommend using tire inserts both front and rear. With bigger impacts, inserts prevent the tire from buckling, providing additional puncture protection and sidewall support in big compressions. At the same pressure, the difference between riding with or without insert is rather huge. This is partly down to the damping qualities of the insert itself, and partly due to the reduced air volume in the tire. As a result, the wheels don’t bounce as heavily in fast, rocky sections or in nasty root carpets, ensuring more composed, confidence-inspiring handling.


Rolling resistance and weight – The drawbacks of tire inserts
The most obvious disadvantage of tire inserts is the additional weight. While on the trail, the higher rotating mass doesn’t affect the bike’s handling directly, using lower air pressures increases the tire’s rolling resistance – although the rubber compound plays a bigger role than the actual pressure. There’s one more thing to keep in mind: while tire inserts reduce the likelihood of punctures, nasty punctures that require you to ride with an innertube for the rest of the day can be a pain, unless you can quickly swing by your car to leave the insert in the trunk.
The perks of tire inserts – The most important findings from our comparison test
As already mentioned, the biggest perk of tire inserts is that they prevent your tires and rims from getting damaged. However, they also bring other advantages to the trail, like the additional sidewall stability and the fact that you can use lower tire pressures, allowing the tire to deform around roots and rocks rather than bouncing over them, thus allowing you to generate more traction. Furthermore, tire inserts dampen smaller vibrations, giving you more control over the bike and saving you energy. All in all, most tire inserts will improve your bike’s downhill performance, but you should be aware that the higher weight and rotational mass are part of the package.
The best tire insert: Rimpact PRO V2
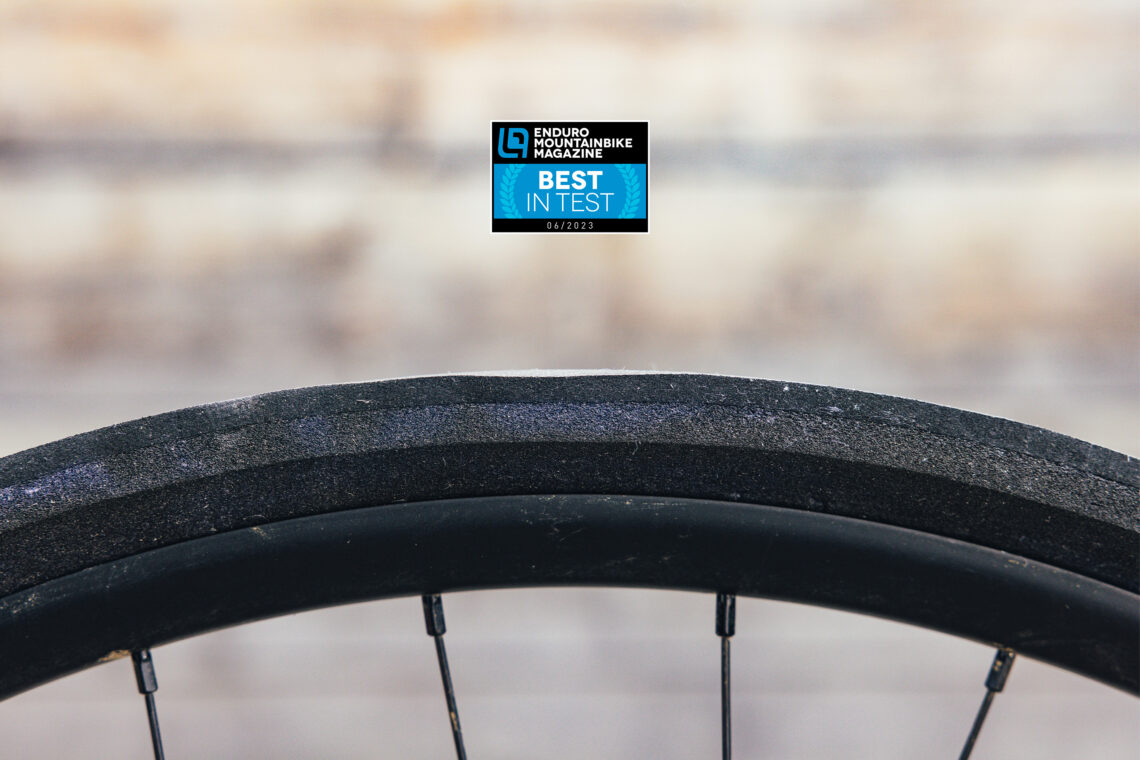
All inserts in this test have a clear influence on the bike’s handling and noticeably improve the downhill performance. However, the insert that delivers the best mix of puncture protection, trail performance and weight is the Rimpact PRO V2. While adding only slightly more weight to your bike, it offers a significant improvement in comfort, stability and traction, holding up just fine against the heavy-duty competitors in this test. A massive boost of confidence and a well-deserved test win!
For an overview of the group test: The best tire inserts – 5 variants in review
All inserts in test: Hardware shop Backer rod (Click for review) | CushCore PRO (Click for review) | PTN R-Evolution (Click for review) | Rimpact PRO V2 (Click for review) | Technomousse Red Poison Evo (Click for review)
