RockShox lower leg fork service – Improve the performance and extend the life of your suspension fork
Be honest, when was the last time you serviced your suspension fork? And that’s despite knowing that regular servicing extends your fork’s life and improves its performance. The lower leg service is quicker and easier than many riders think. We’ll show you how to perform the service on RockShox forks.
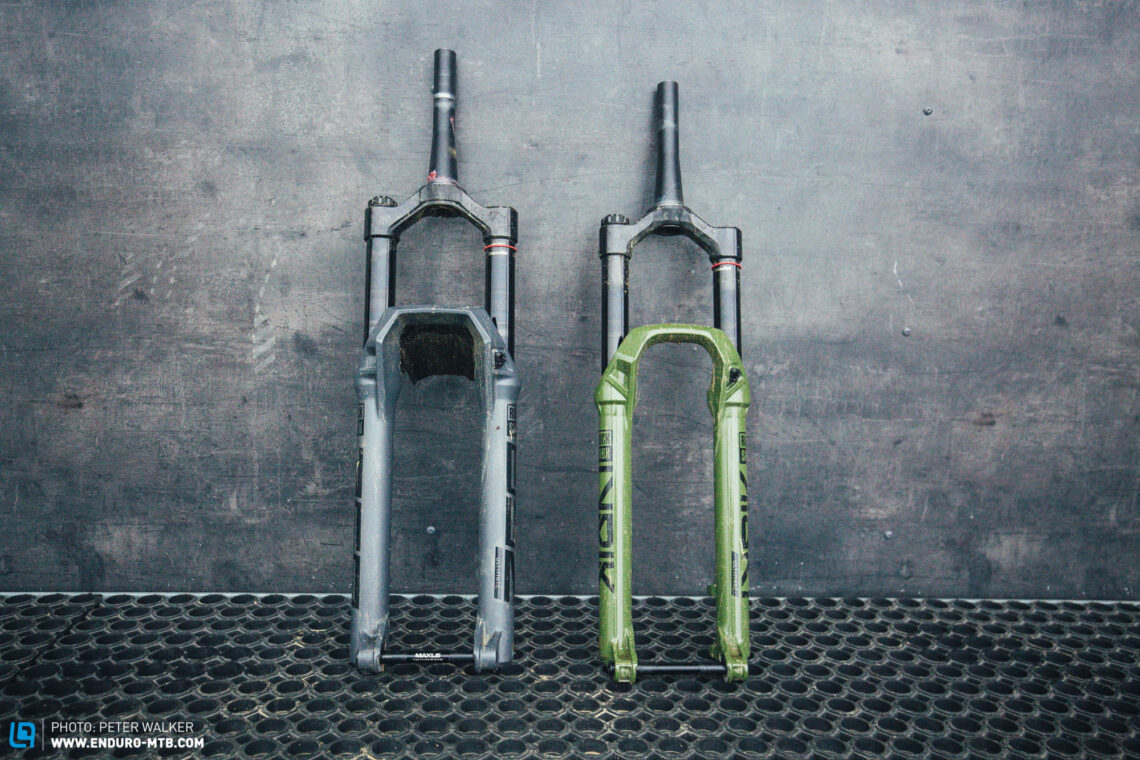
Your bike’s suspension has a huge influence on its performance on the trail. We compared 9 suspension forks, putting them through the wringer and answering many questions you might have about forks in the process. It comes as no surprise that they work best if they’re well cared for and lubricated. A freshly serviced fork is noticeably more responsive due to the reduced friction of the seals, making things easier on your hands and arms. Nevertheless, riders often neglect to perform this service on a regular basis and many of you are scared to open up your forks. However, a lower leg service is very simple and quick to do, and it requires minimal tools. With the lower leg service, all you’ve got to do is clean and service the lower legs, also referred to as the casting. There’s no need to check the seals, touch the damper and air chamber, or deflate the fork.


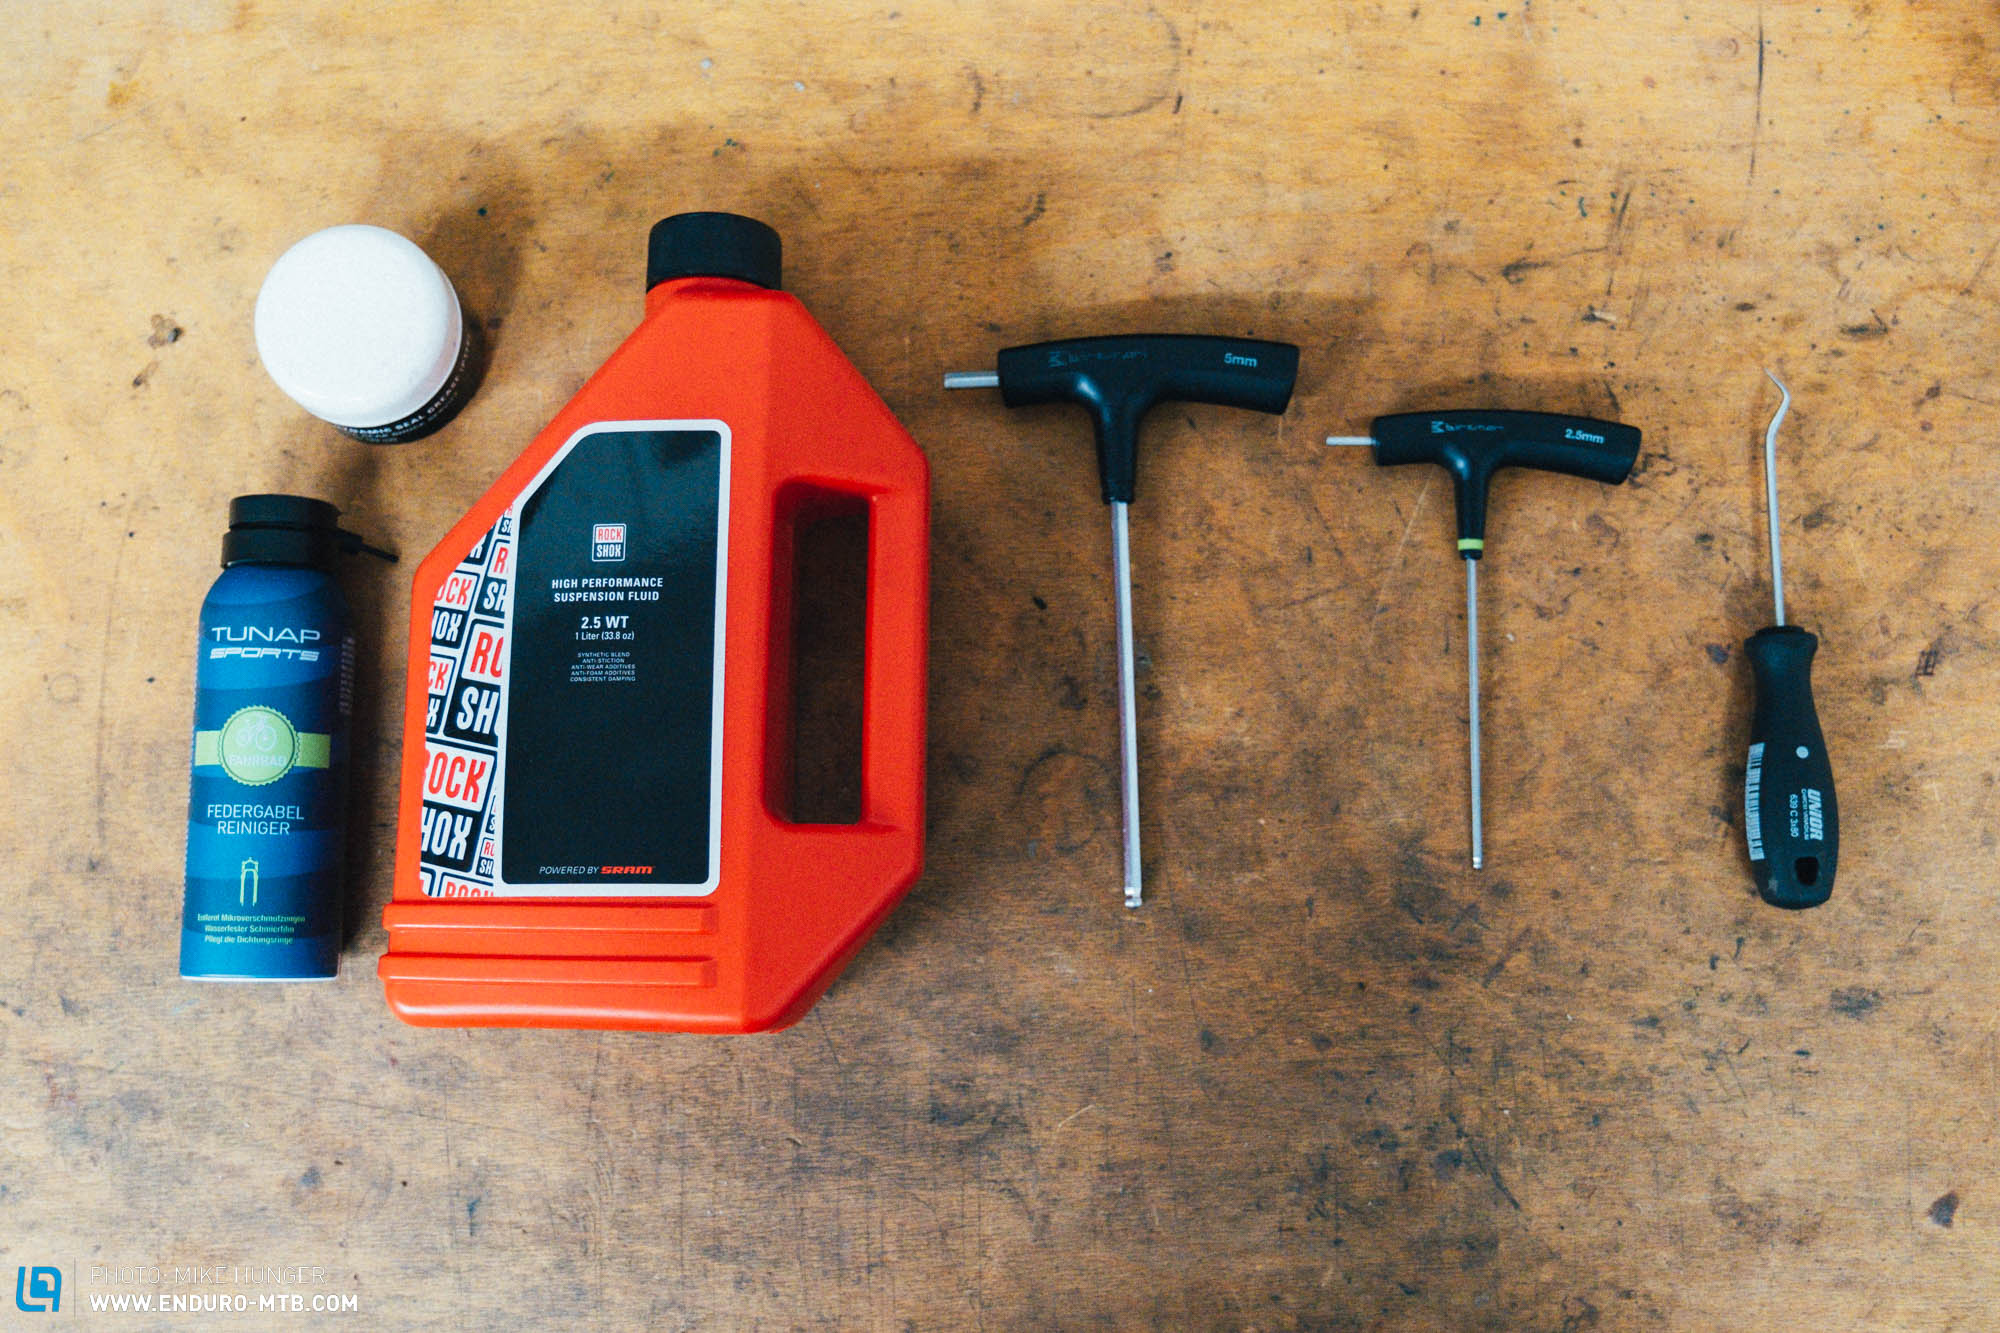
Lower leg service utensils
The lower leg service only requires a few tools:
- 2.5 mm Allen key
- 5 mm Allen key
- pick (or small screwdriver)
- (rubber) mallet
- lubricating oil
- suspension grease
- fork cleaner (or isopropyl alcohol)
- rags
- syringe
Performing the lower leg fork service
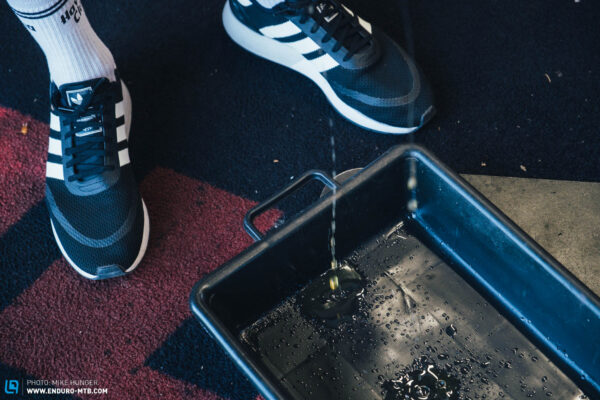
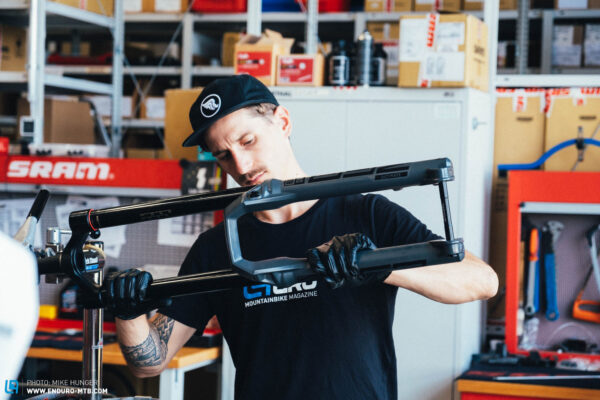
The nice thing about servicing the lowers is that you don’t even have to deflate the fork since the air spring is located inside the stanchions. You can also just leave the fork attached to the bike if you’re in a hurry. That said, it’s easier to work on the fork once it’s removed and attached to the bike repair stand, in which case you must fasten the clamp to the fork steerer tube to avoid damage. You’ll also want to put a large drip tray under the fork before starting the service to prevent any oil from spilling on your floor.
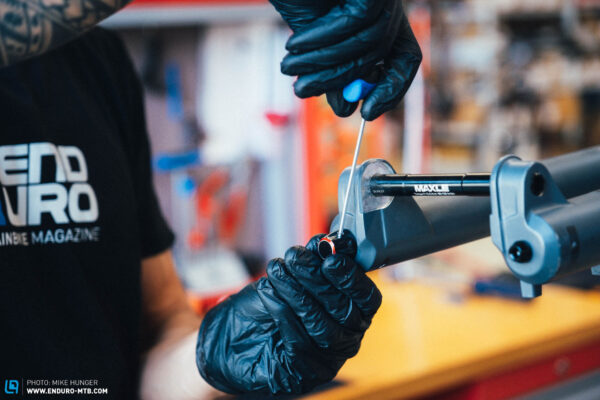
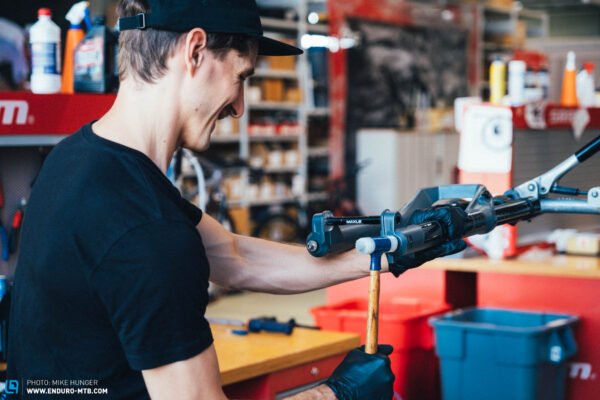
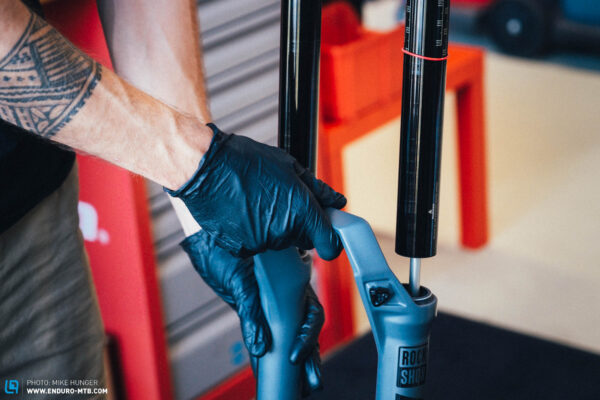
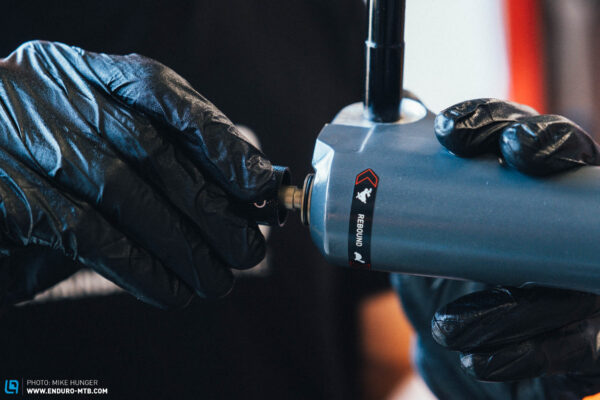
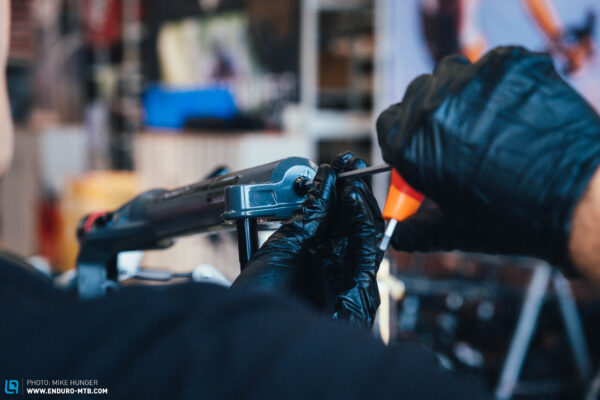
Once you’ve done all the prep work, the first thing to do is remove the rebound dial. To do this, simply loosen the small grub screw on the side of the dial and pull it downwards. Next, loosen the two bolts that are now visible on the lower ends of the casting, unscrew them halfway, and tap them lightly with the rubber mallet. This releases the guide rods of the air spring and damper from the casting. Since these two parts bear the rider’s full weight while riding, they might not come loose that easily. If you don’t have a rubber mallet at hand, you can also leave the Allen key in the bolt – so as not to damage the head – and tap it with a normal hammer. You could even use the back of a screwdriver or a wooden plank, if necessary. Let your creativity run wild ;) You may see oil starting to drip out of the fork.
When the guide rods are released from the casting, you can fully unscrew the two bolts and then pull the casting off the stanchions. You’ll often hear the fork emit a slight pop as you do. Note, oil will definitely start draining out of the two open holes at bottom of the casting at this point. The darker the oil, or the less there is, the more your fork was in need of a service.
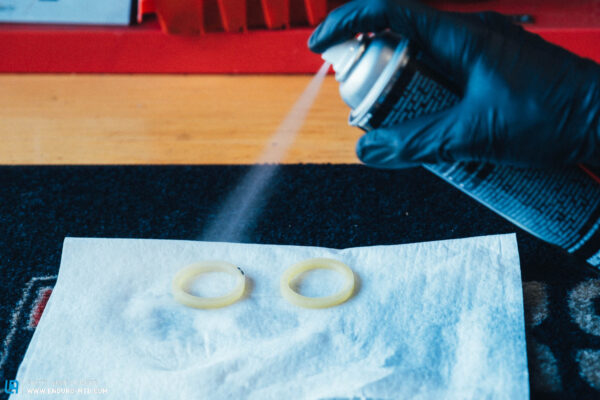
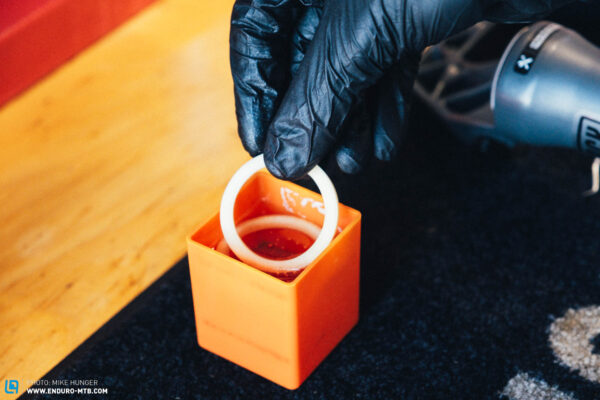
Now that the casting has been removed, it’s worthwhile checking the condition of the dust wiper seals – the rubber seals with the small metal ring at the top – and the foam rings underneath them. If any of these are damaged, you should replace them with new ones. You’ll find spares kits online, but make sure that the set is compatible with your specific fork model. If you don’t see cracks or other damage, there’s no need to replace the seals or foam rings. The effort involved in performing this service is worthwhile, because the more often you do it, the longer the less wear and tear you’ll have. You must remove the foam rings to get them clean. We recommend using a small pick to fish them out, though a small screwdriver or any other long, thin object will do the trick. Rinse the rings thoroughly with fork cleaner, squeeze them out, and soak them in lubricating oil until they’re drenched.
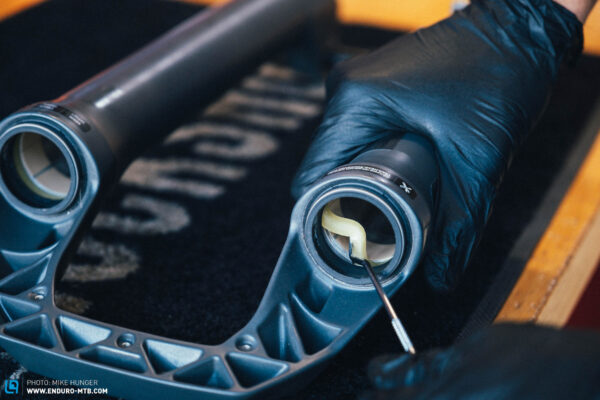
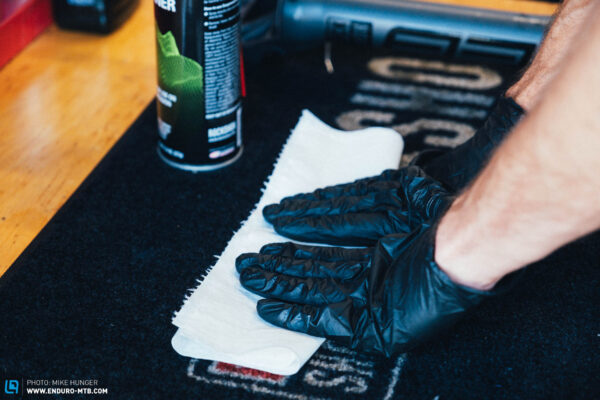
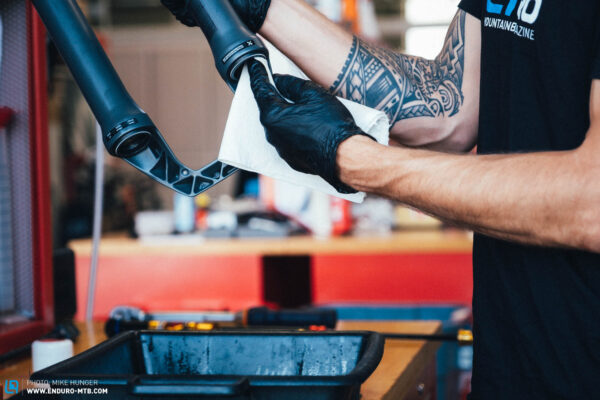
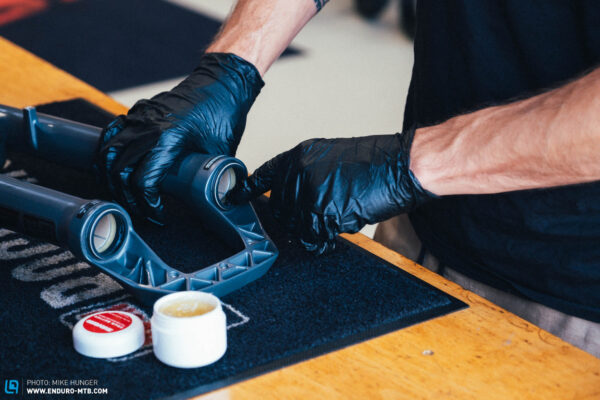
The dust wiper seals can simply get wiped clean with a rag and some fork cleaner or isopropyl alcohol. Always make sure that you keep the lower legs upside down so that none of the dirt falls into the casting. To clean the lowers from the inside, simply spray a bit of cleaner into them and let it run out the bottom. With everything cleaned, it’s time to get lubricating. To do so, first reinsert the soaked foam rings and then apply grease to the inside of the dust wipers.

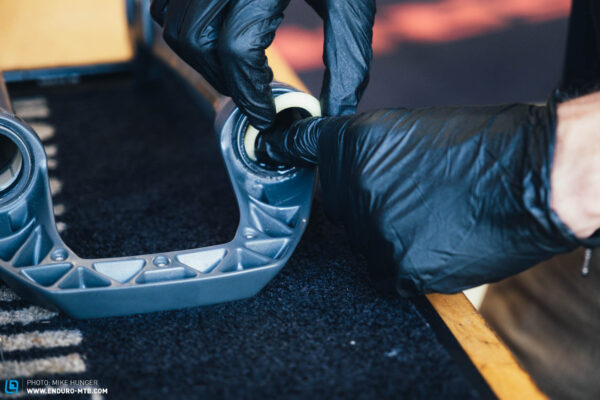
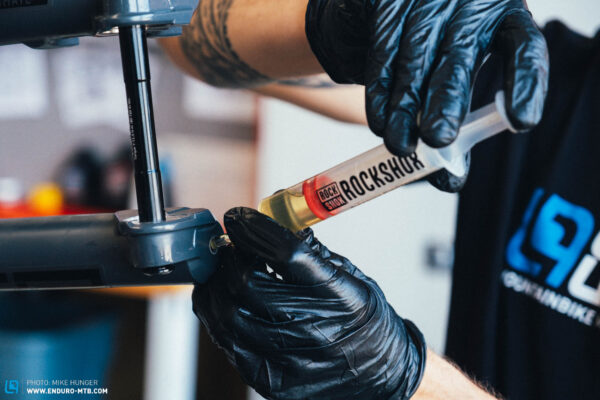
To reassemble the fork, push the casting back onto the stanchions. Don’t slide them on all the way at first, but leave a little room for oil, which you’ll fill into the holes at the bottom of the casting. The easiest way to do this is with a syringe. It also helps if you’ve got the fork lying on its side. Check the service section of the RockShox website to find out how much oil is required. When you’ve added the right amount of oil, you can slowly and carefully slide the casting all the way onto the stanchions. If you’re not careful, the fresh oil can easily come squirting out.
Next, replace and tighten the two bolts. Make sure to use the hollow bolt on the side of the damper, to accommodate the rebound adjuster knob. As soon as the rebound knob is back on and you’ve tightened the grub screw, the service is done, and your fork is fresh and ready to tackle another season. Finally, clean the fork from the outside, wiping away any oil and grease. Note: it’s common to see a bit of oil on the stanchions initially after servicing the fork and it doesn’t indicate a leak.
As you can see, the lower leg service isn’t witchcraft. And it’s worth taking the time and making the effort to perform it regularly. If you do, you won’t just improve your fork’s performance, but also increase its service life. In case you just don’t have the time or don’t think you’ve got the technical finesse, you can always send it in and let the RockShox staff do the job for you. Take good care of your equipment and your equipment will take good care of you ;)