Installation guide: SRAM Eagle Transmission – Detailed explanation of the installation of the new groupset
A lot has changed with the all-new SRAM Eagle Transmission. There is no longer a need for a derailleur hanger and there are almost no adjustments needed. However, there are a few important steps to take during the installation, nonetheless. We’ll show you what to do when fitting the SRAM Eagle Transmission to your mountain bike.
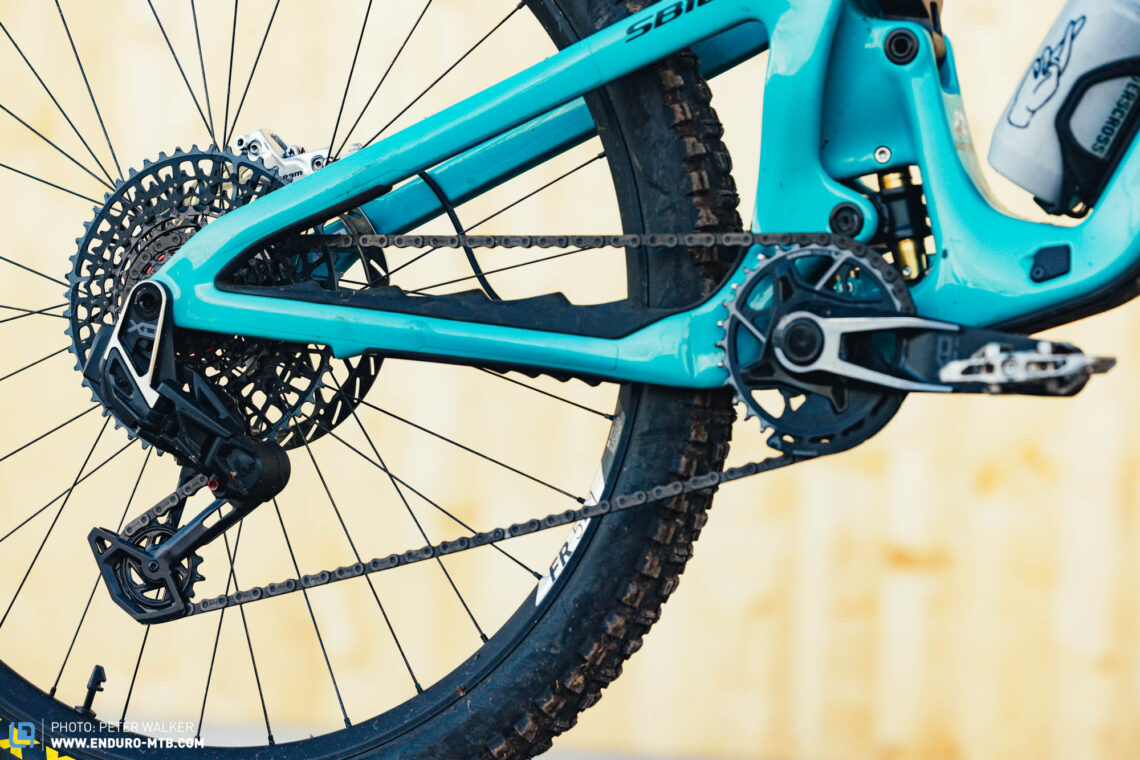
Many years in the making, the SRAM Eagle Transmission groupset is finally here. Development started in 2018 and now SRAM have revealed their master plan with the launch of three new groupsets. The Eagle Transmission attaches directly to the UDH mounting point of the frame, making the derailleur hanger obsolete. Since this allows the derailleur to be perfectly aligned with the cassette, there is almost no fine-tuning necessary, and the screws for the outer and inner stop as well as that of the B-gap have gone. However, there are a few things to keep in mind when installing the hangerless derailleur so that it can perform as intended. In the following, we explain everything in detail, but if you’re in a hurry, you can jump directly to the summary where we’ve listed all the steps without going into too much detail.
- How to prepare the chain, derailleur, and frame to fit the SRAM Eagle Transmission
- Mount the SRAM Eagle Transmission derailleur, attach the chain, and install the wheel
- Tightening the SRAM Eagle Transmission and thru axle
- In summary: A quick installation guide for the SRAM Eagle Transmission
How to prepare the chain, derailleur, and frame to fit the SRAM Eagle Transmission
First of all, it helps to hang the bike on a bike repair stand. That way you don’t have any weight on the suspension and the chain isn’t under tension. You can also just turn the bike upside down.
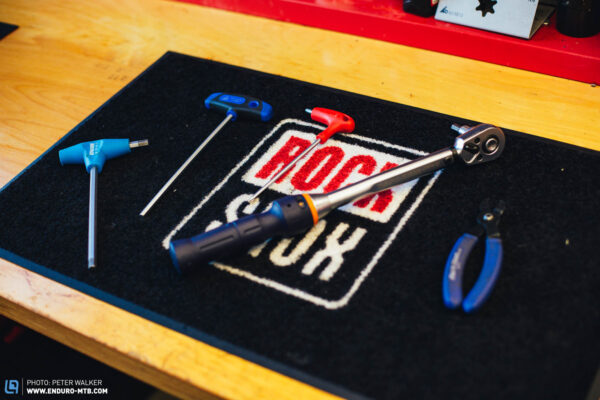
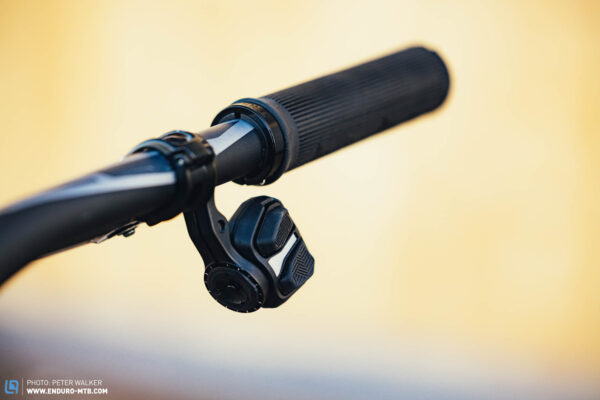
Before you can start fitting components, you need to shorten the chain to the correct length. The chain length depends on the bike’s chainstay length and the size of the chainring, and there’s a tool in the SRAM AXS app or on the SRAM website to help you determine it. Next, you’ll want to connect the derailleur with the controller. The SRAM Transmission derailleurs are compatible with both the new AXS Pods and the older AXS controllers. To connect the two, you must first hold down the button on the derailleur until the light flashes slowly, then you press the button on the controller until its light flashes green. To double check, you can use the app to see which controllers are connected to which components.
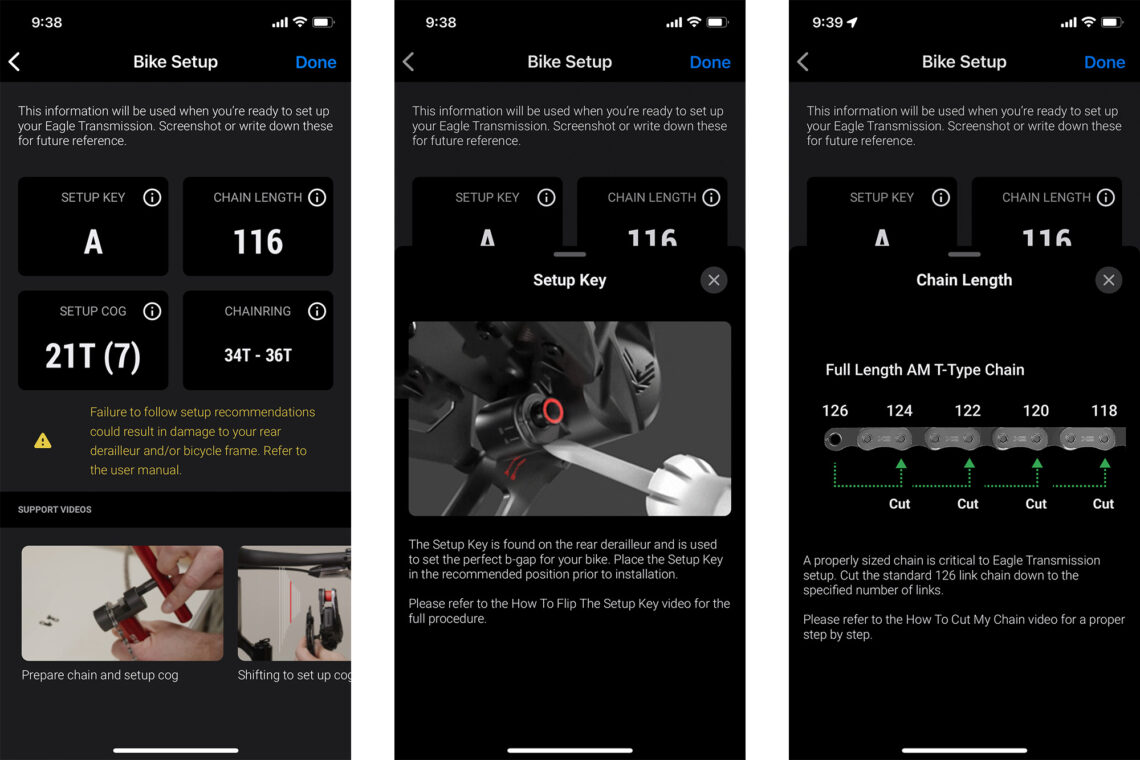
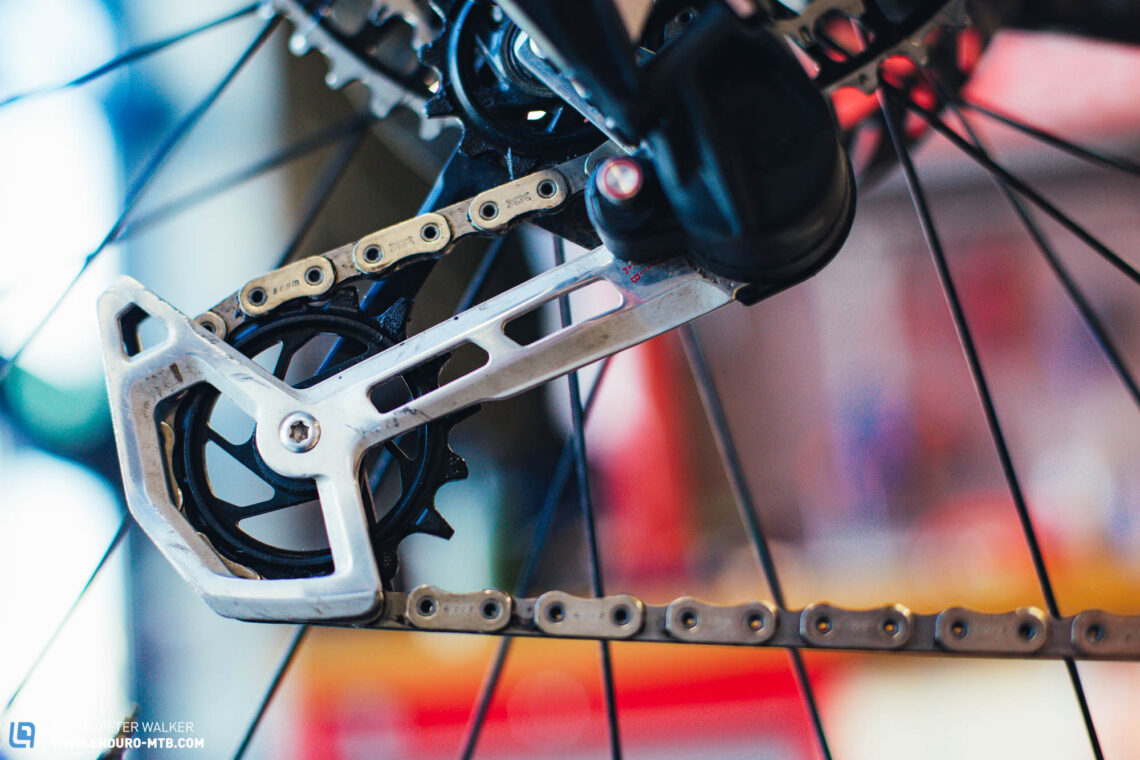
After that, you must select the correct position for the flip chip on the derailleur. The setting depends on how much the chainstay length increases during compression, which is essentially the rearward axle path, divided into A-bikes with little chain growth and B-bikes with a lot of chain growth. Again, you can find out which group your bike belongs to in the AXS app or on the SRAM website – the vast majority of full suspension mountain bikes belong to the B group. The flip chip is located at the interface between the cage and the mech. You just have to pull it out by hand or with a small screwdriver and turn it to the required position.
If you’ve still got a UDH derailleur hanger fitted, you will have to remove it before attaching the derailleur to the frame. To do so, simply loosen the derailleur hanger screw. But be careful! It’s a left-handed thread, so you must turn it clockwise to unscrew it. After that, the screw, washer, and derailleur hanger can be removed.
Mount the SRAM Eagle Transmission derailleur, attach the chain, and install the wheel
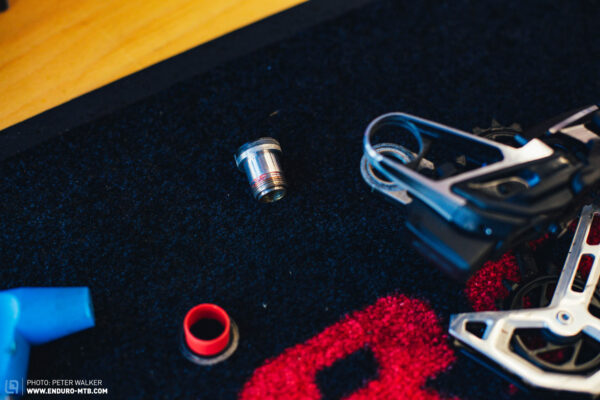
To be able to attach the rear derailleur to the frame, you must first insert the bushing into the frame from the outside. You shouldn’t use any grease for lubrication at this point. The small silver ring on the inner mount of the derailleur is then rotated clockwise until it hits the stop. The derailleur can then be fitted to the frame via the bushing. Tighten the bolt to fasten the derailleur finger-tight, but then loosen it again by a full turn. This ensures that the derailleur can still move freely and is thus fixed in the correct position later.
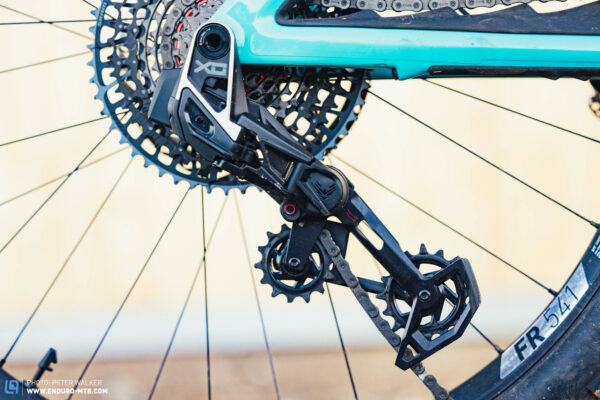
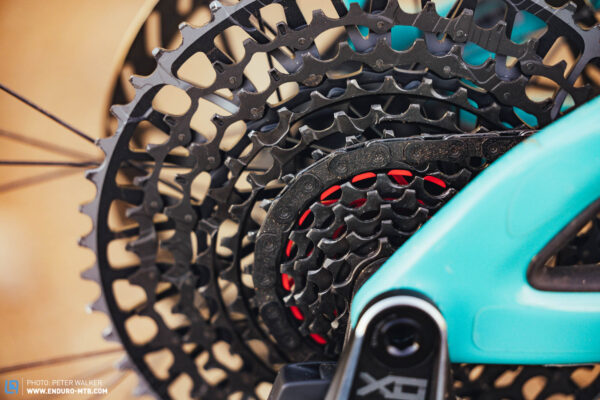
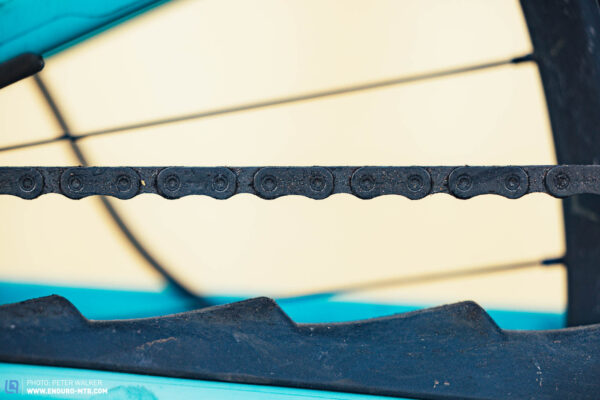
The rear wheel can then be installed as usual. Next, also tighten the thru-axle finger-tight and then loosen it again one full turn. With that done, you can insert the chain. This is easiest when the derailleur is in the lock position. Push the cage forward and lock it in place by pressing the silver and red metal pin. Before inserting the chain, the rear derailleur must be moved to the correct position. To do so, first shift to the outermost position and then shift inwards five times. You can then place the chain on the 6th cog from the outside, which is marked in red, and feed it through the derailleur cage. It should go in very easily on the 6th cog as it’s in alignment with the jockey wheels. Connect the two ends of the chain with a Flattop PowerLock. Make sure that the arrow points in the pedalling direction.
Tightening the SRAM Eagle Transmission and thru axle
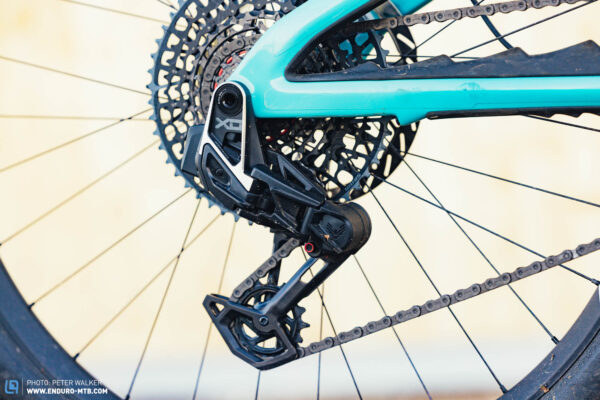
To tighten the derailleur, it must be in setup mode. Push the cage forward until the silver-red pin pops out, releasing it from the lock position. Then pull the cage back until you can lock the pin in the middle position. The cage should be positioned in such a way that you can read whether your derailleur is in the A or B position. To tighten the derailleur, simply pull the cage backwards until the chain is tensioned slightly. While doing so, you can check whether the rear derailleur is in the correct position by turning the cranks once. The chain should stay on the red setup cog and shouldn’t jump. If that’s the case, you can tighten the bolt securing the rear derailleur to the frame to 35 Nm. The chain should now remain slightly tensioned if you let go of the cage.
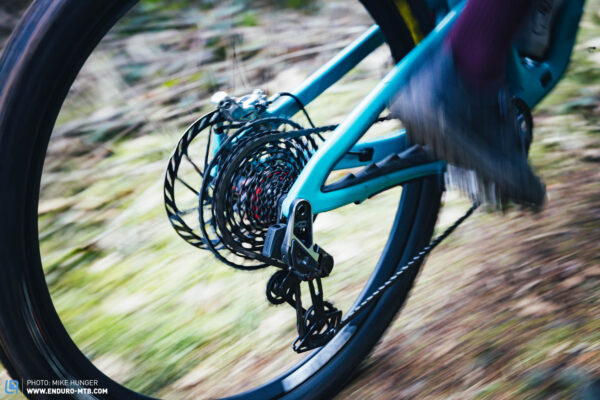
Once the rear derailleur is fastened in the correct position, you can also tighten the thru-axle of the rear wheel. Finally, release the derailleur from setup mode by pushing the cage forward and letting the silver/red pin snap back into place. That’s it, you’re ready to hit the trails! And don’t worry, with the rear derailleur properly positioned and tightened, you can remove and replace the rear wheel as usual.
Fine-tuning the rear derailleur works the same way as previous AXS drivetrains with MicroAdjust. Simply press and hold the small button on the inside of the Pod while pushing the shift button. As a result, the rear derailleur moves minimally in or out, allowing you to fine-tune the alignment. With the new Transmission, however, there are only 14 increments, compared to 30 with the Eagle AXS groupsets. The adjustment can be carried out on any gear and always applies to all gears. The Transmission drivetrain works better under load than in the repair stand, so you should only use Micro Adjust if you feel that a gear doesn’t feel perfectly smooth on the trail.

In summary – A quick installation guide for the SRAM Eagle Transmission
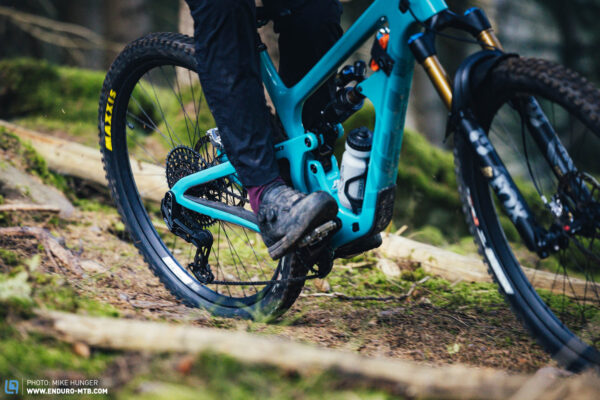
Short and sweet. First set the flip chip of the rear derailleur to A or B, depending on the bike. Remove the UDH derailleur hanger from the frame if necessary and insert the bushing into the frame from the outside. Then tighten the rear derailleur finger-tight and loosen the screw again one full turn. Next, lock the cage in the foremost position. Reinstall the wheel, tighten the through axle and then unscrew it a full turn. Shift the rear derailleur to the sixth gear from the outside, place the chain – which you will have shortened to the correct length – on the cog that’s marked in red, and connect the loose ends with a quick link. Thereafter, put the derailleur in setup mode so that the A/B setting is visible. Pull the cage back slightly so that the chain is tensioned and tighten the rear derailleur to the specified torque. Finally, tighten the through axle and release the derailleur from setup mode.
Installing the SRAM Eagle Transmission may seem complicated at first, but it’s quicker and easier than you think if you stick to the correct order. First prepare, then install, and finally tighten. Once everything is tightened, there are no more limiting or B-gap adjustments necessary thanks to the hangerless, direct mount design. With the drivetrain correctly installed, you can remove and replace the rear wheel as usual, to transport the bike, for example.
