Brakes setup guide – How to get the most out of your hydraulic disc brakes
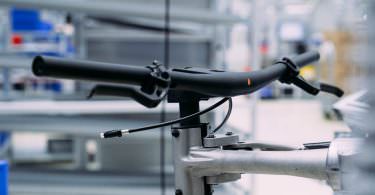
Good brakes make you faster! This may sound a little counterintuitive, but it’s true! Brakes are complex systems and will only improve the riding experience and enhance your sense of security when perfectly tuned to your needs and requirements. No matter what you run, this guide will help you improve the performance of your hydraulic stoppers and understand the complex technology that lies behind them – and perhaps make you a little bit faster too!

Finding the right brake setup is more important than you might think! It’s not unusual for mountain bikers to spend hours, days or even weeks trying to nail the perfect bike setup. Regrettably, we tend to focus on suspension settings and neglect other crucial aspects, like the brakes for example. However, the way we set up our brakes has a huge influence on the riding position and overall braking performance of the bike, which in turn can affect our responsiveness and perception of safety on the trail. Unfortunately, many riders don’t take the time to adjust their brakes correctly, thus failing to make adequate use of their potential. Given that braking performance depends on the combination of many mutually-influencing parameters, it’s good to have some basic knowledge about hydraulic braking systems.


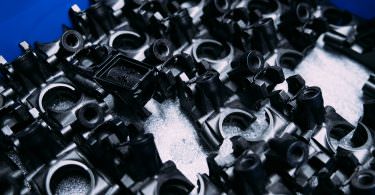
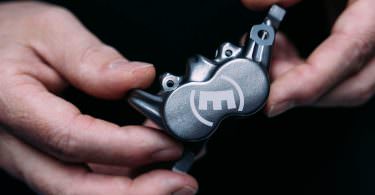
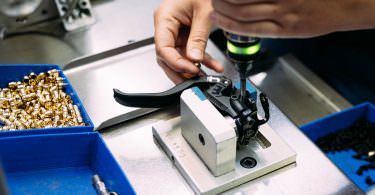
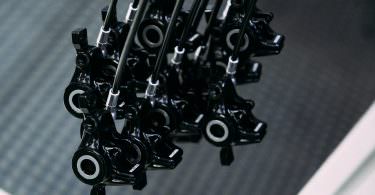
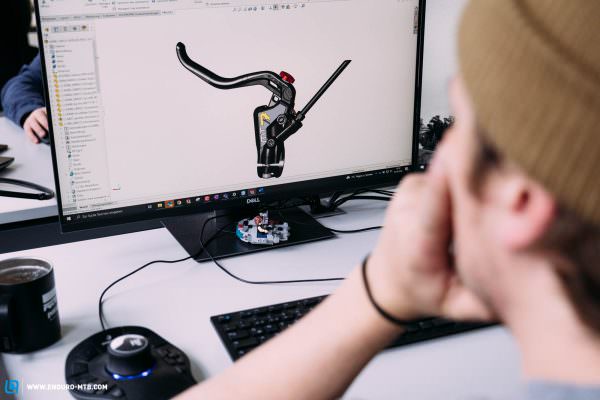
As our big brake group test shows, MAGURA make excellent brakes. On top of that, the German manufacturer offers the widest range of customisation and tuning options available on the market. The philosophy that drives the Bad-Urach based company is simple and clear: there’s no such thing as the perfect brake, but only a brake that’s perfectly tuned and adjusted to suit your needs and riding style. We visited the MAGURA headquarters to delve deeper into the subject, debunk the most common myths about hydraulic brakes and help you exploit the full potential of your braking system. We visited the local production plant, where we took some physics lessons and chatted with developer Philipp Rösing and PR manager Dominik Voss.


Physics and operation: How does a hydraulic brake system work?
In a nutshell, braking is an energy conversion process: the kinetic energy of the bike is converted into thermal energy. Contrary to what we might be led to assume, the braking process doesn’t initiate from the brake lever or the calliper, but on the ground, where the braking torque is transferred from the moving system to the ground at its contact point with the tires. As a logical consequence, the braking process is initiated by the entire bike system, including the brakes, suspension, tires and – yes – the rider.
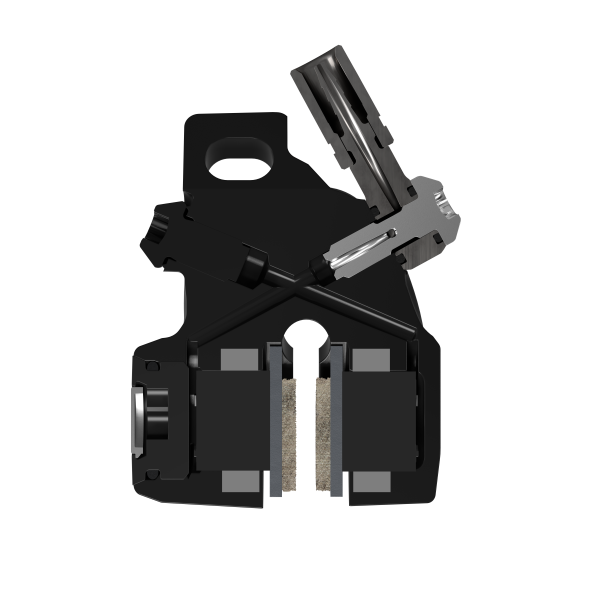
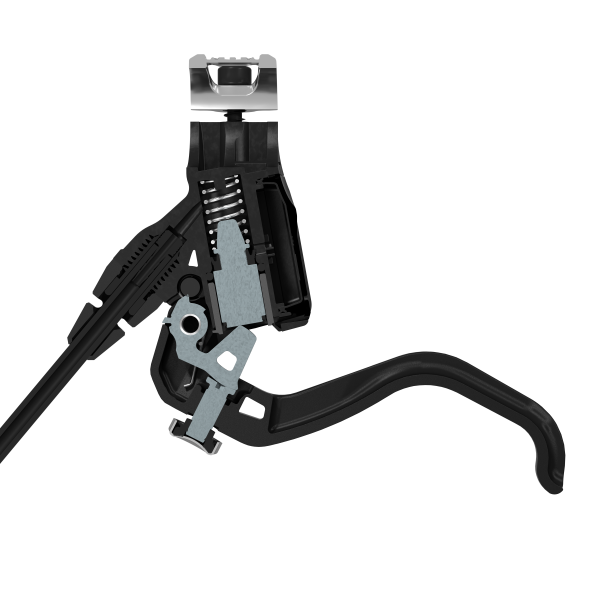
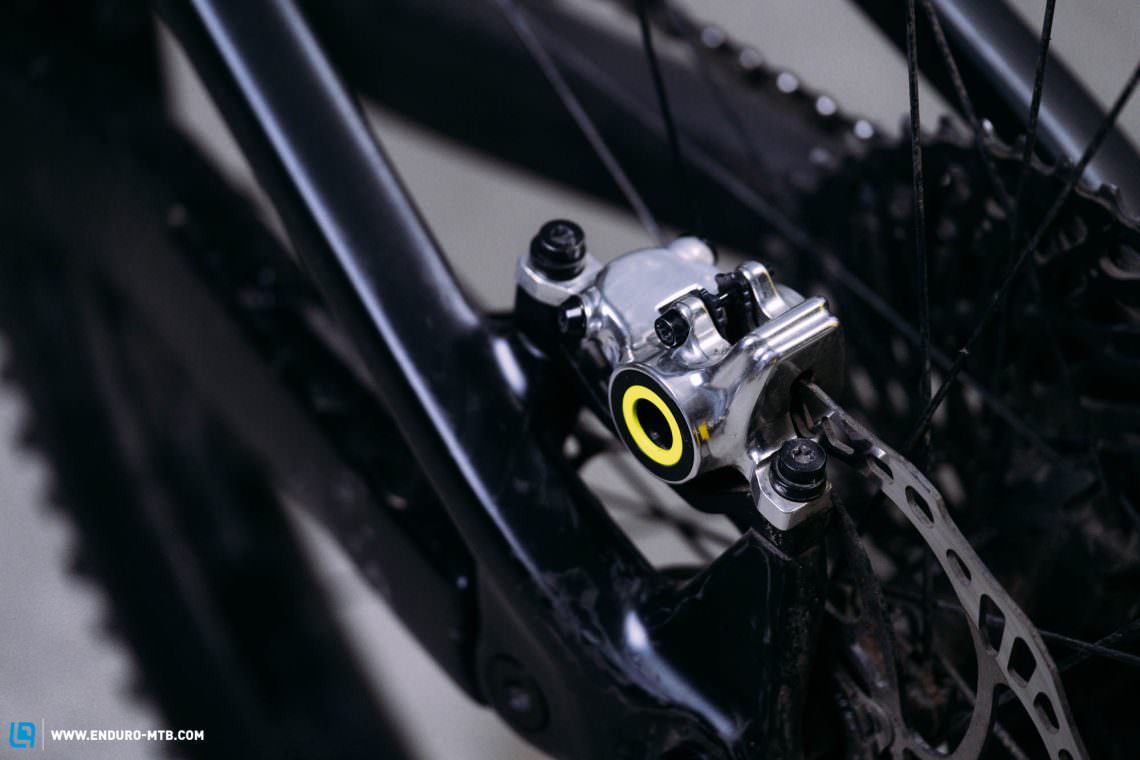
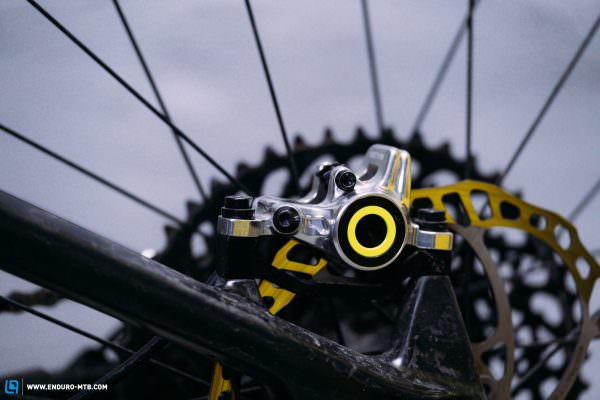
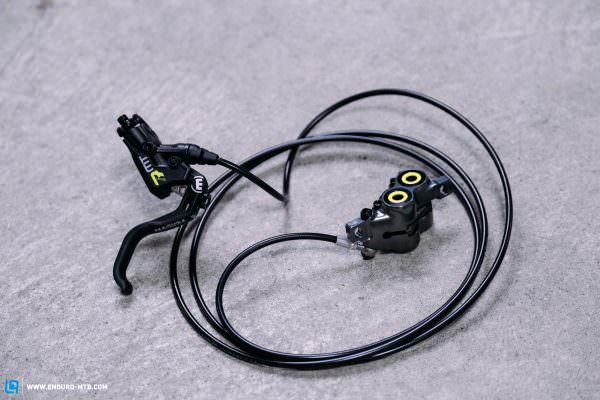
But how does the braking torque find its way from the brake lever to the ground? When squeezing the lever, the master cylinder piston inside the lever body opens up the reservoir, forcing fluid into the brake hose and all the way into the calliper. Here, the fluid presses against the slave pistons, which, in turn, push the brake pads against the rotor. The piston seals act as a supplemental return spring, moving the pistons back into the calliper housing and the brake lever into its initial position together with its internal return spring. While the process itself is fairly simple, the way the brake delivers its power depends on countless factors.
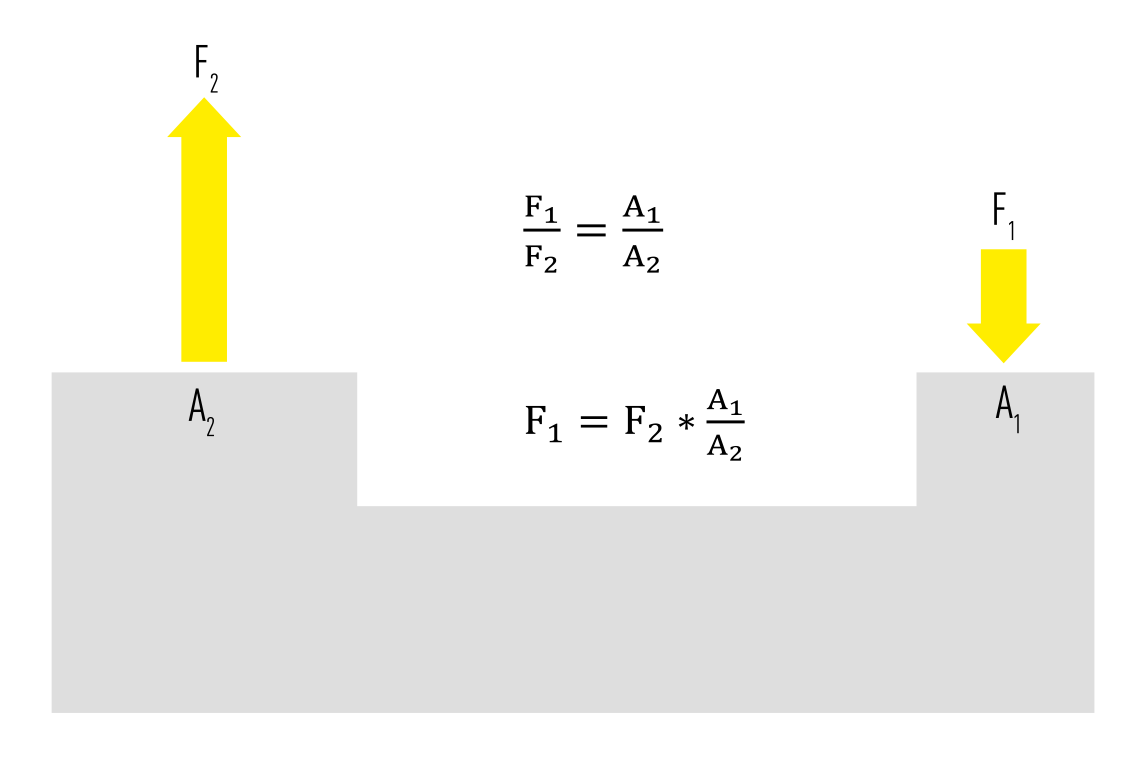
The ratio of master cylinder to slave piston area has a huge impact on braking force and determines how much the pistons move in relation to each other and thus how much force you have to exert on the brake lever (master piston) to achieve a given brake force. In this respect, manufacturers take different approaches: for example, Magura brakes have a fairly linear leverage ratio compared to the competition, meaning that that ratio of lever to piston travel remains consistent. This ensures a linear brake feel, which, according to MAGURA, is more intuitive, but also minimises the space between the rotor and brake pads, making it harder to achieve a drag-free setup. Shimano’s SERVOWAVE and SRAM’s SwingLink levers take a different approach altogether: with both systems, the leverage ratio changes over the course of the stroke and the brake ramps up immediately near the end of it. Moreover, the slave pistons are positioned further away from the rotor and have to cover a greater distance to initiate the braking process. As soon as the pads touch the rotor, the ratio changes, which is supposed to ensure more intuitive modulation. Not only does this make it easier to set your callipers without the pads dragging against the rotor but also ensures a more progressive ramp up. Which approach is better is largely down to personal preferences.

Another crucial factor is the leverage ratio, which is the ratio of brake lever to master cylinder piston length. Simply put, the longer the brake lever, the more force this applied to the master cylinder piston. However, this also results in more deadband because a longer brake lever has an inherently wider circular path. With some brakes, you can increase the braking force by altering the leverage ratio directly from the brake lever.
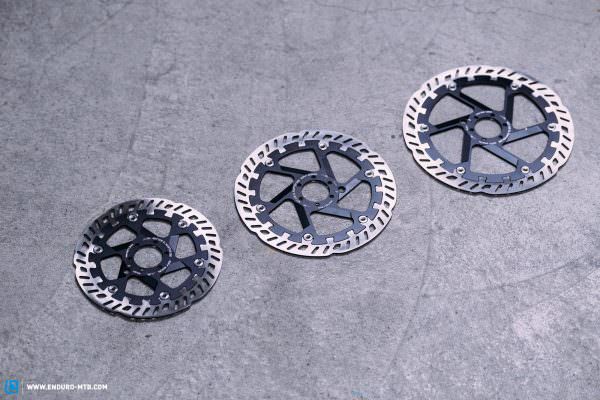
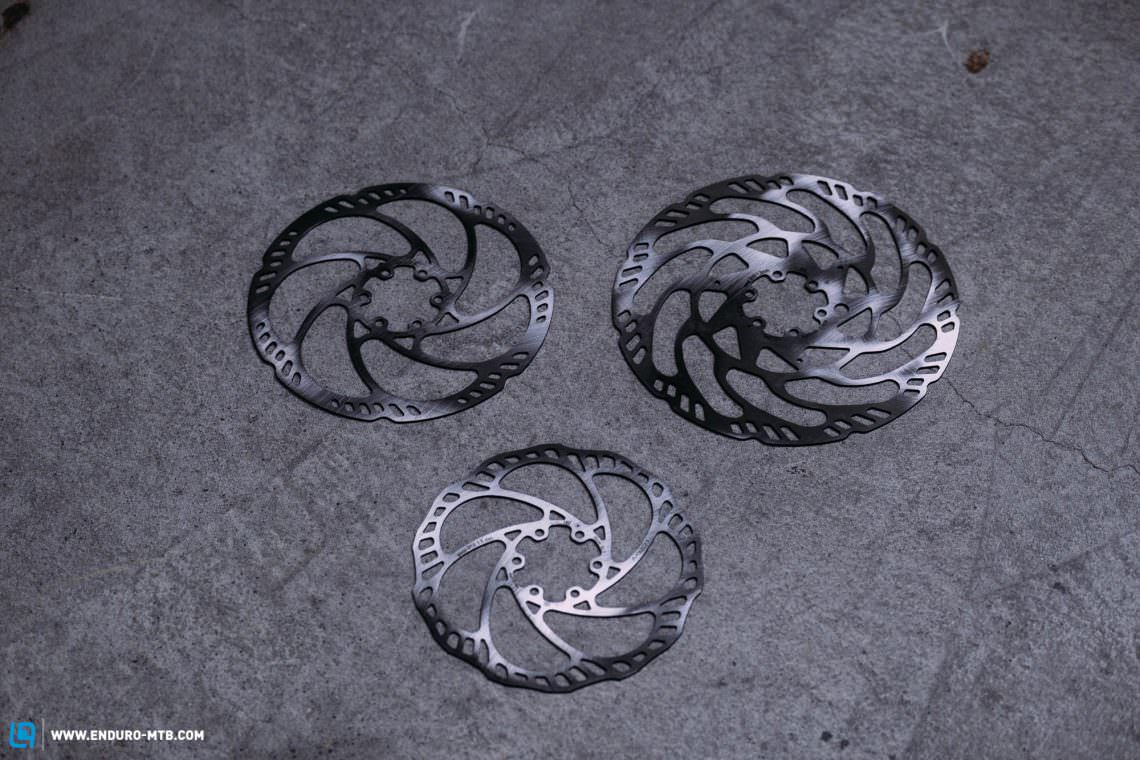
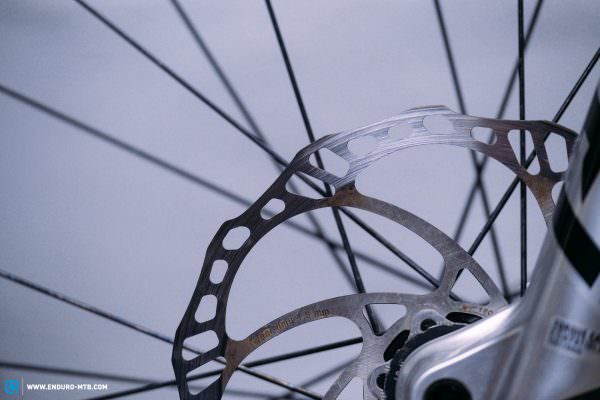
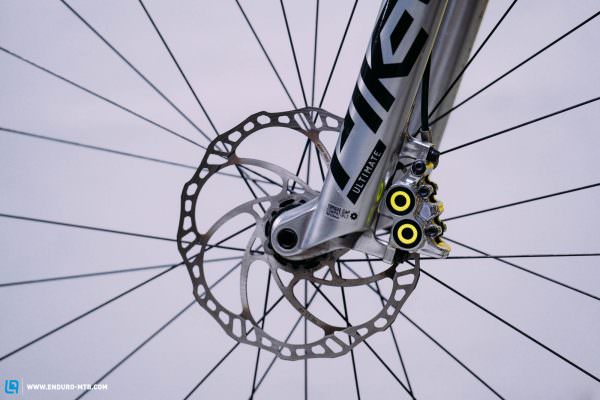
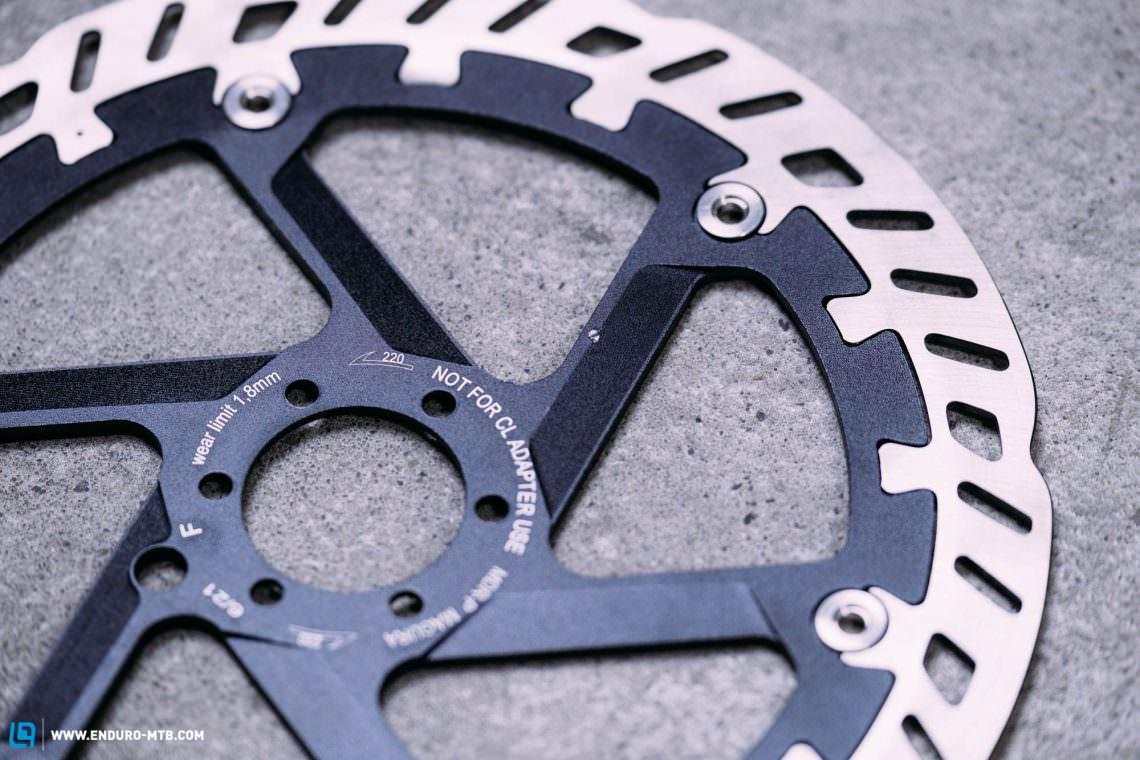
Just as important is the size of the brake rotors or, better still, the rotor-to-wheel diameter ratio. A big wheel with a small rotor translates into a shorter lever arm and thus generates less braking torque. On the other hand, a small wheel with a bigger rotor results in a longer lever arm and thus in more braking torque. By increasing rotor diameter by 20 mm, you’ll also increase braking torque by approximately 10%. This explains why brake rotors have grown with the wheel sizes (26”, 27.5”, 29”) over the past decade.

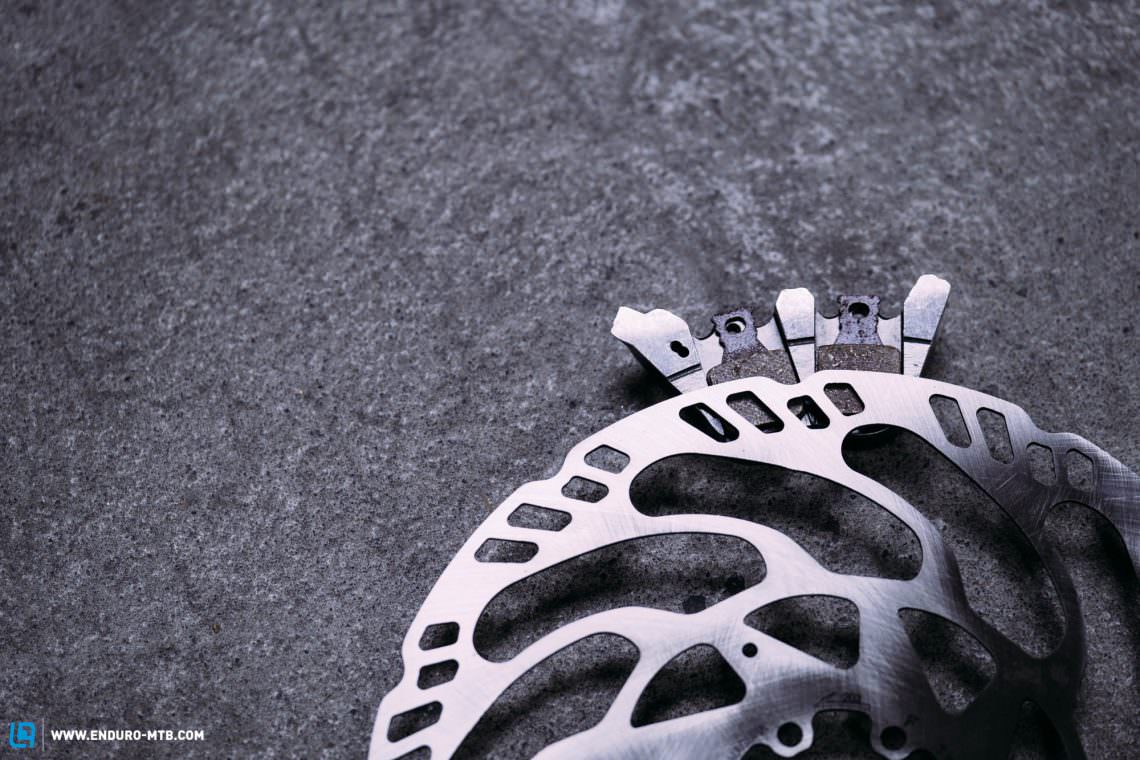
Two more elements that have a significant influence on the brake force are the rotors and brake pads, which create the friction needed to initiate the braking process. Everything else we’ve mentioned thus far has to do more with getting the braking force to the ground than with deceleration. Simply put, it’s the friction between the rotors and brake pads that initiates the actual braking process. However, the frictional force is temperature-dependent and reaches its maximum value when the rotor and pads get hot. In other words, brake rotors can only work properly once they’ve reached their optimal operational temperature. The tricky part is to find a setup that suits your weight, terrain and riding style, allowing you to keep your rotors at the optimal operating temperature for as long as possible during a ride. If the operating temperature is too high, the friction coefficient will collapse drastically, resulting in a sudden loss of power, AKA brake fade. And if you still keep braking, the system will overheat, causing air bubbles to form inside the system and the brake to lose even more power.

What’s important when setting up your brakes? Dos and don’ts.
Philipp Rösing, brake developer at MAGURA, describes it pretty well: “Many riders don’t bother with their brakes at all. That’s especially true when it comes to choosing the right rotors and pads. All in all, people just tend to stick with whatever comes with their bike!”. Ironically, that’s the easiest and most cost-effective upgrade for your brakes, allowing you to finely tune and adapt their performance to your needs and riding style. When setting up your brakes, you should start by aligning the calliper to the pads as accurately as possible to prevent them from dragging. Needless to say, it’s extremely important to choose the pads and rotor size according to your weight, riding style and intended use.

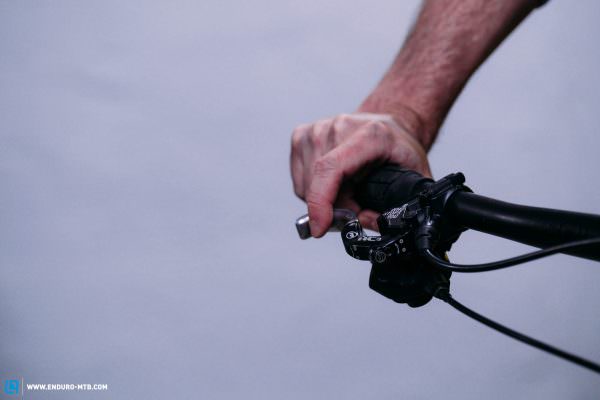
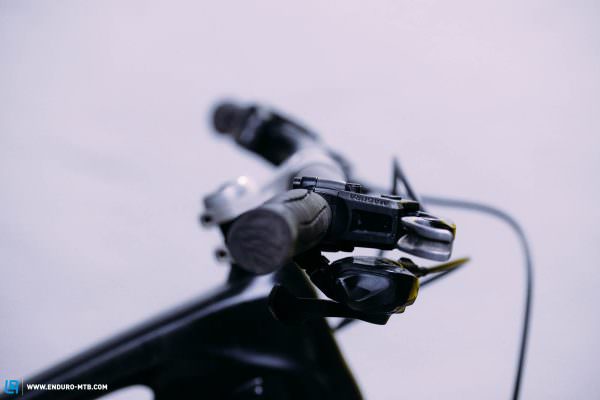
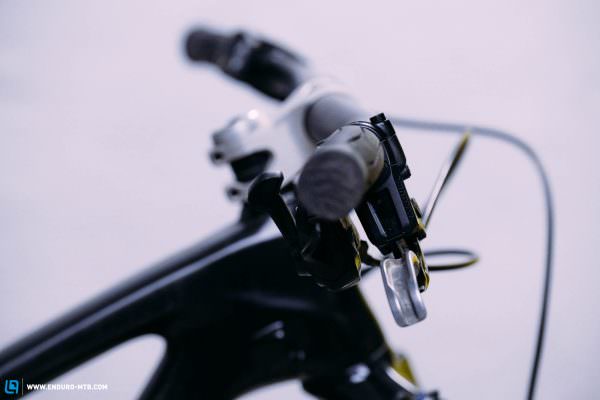
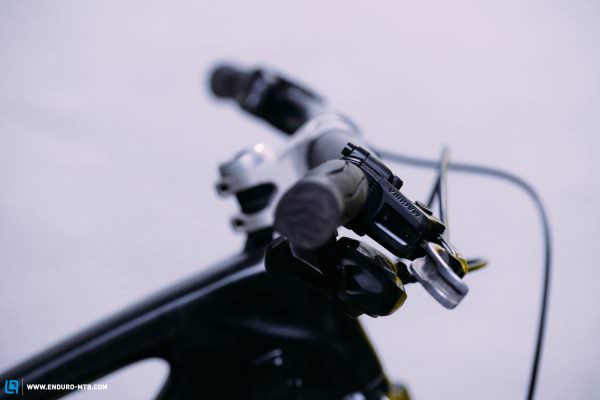
When it comes to ergonomics and, in this particular case, brake lever positioning, we’re wary about making blanket statements because it’s largely down to personal preferences and depends on countless factors: the size of your hand, riding position and riding style are just a few of them. With trail riding, the whole thing gets even more complex. While with touring bikes the riding position doesn’t change much during a ride, with trail/enduro rigs you’re constantly moving around the bike. Therefore, it’s important to match the position of the brake levers to your most active riding position – which is the one that involves braking the most. This ensures maximum responsiveness and control.
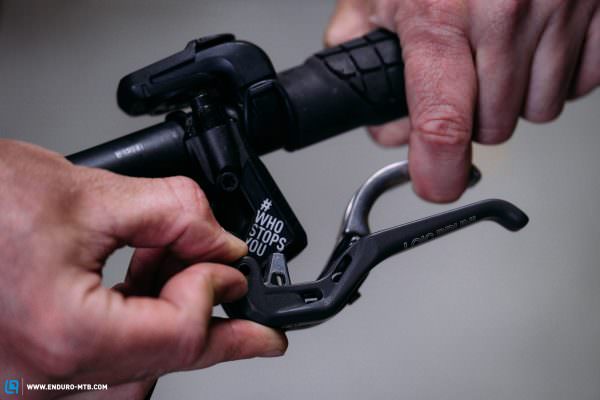
If you follow a few simple rules, you’ll be able to work your way towards the optimal settings. Among other things, the brake lever angle depends on the type of terrain and trails you ride. As a general rule, steep trails call for a flatter lever position, because it allows you to rest the palm of your hands on the grips. The distance of the levers from the handlebars (lever reach) is largely down to the size of your hands – but not exclusively. Moving the levers further away from the bars can improve modulation, because your fingers tend to be more sensitive when stretched. With the levers closer to the handlebars, you’ll have more strength in your fingers and take advantage of the shorter lever action. Once again, finding the right compromise is key. Finally, most high-end brakes feature a bite point adjustment, which allows you to change the amount of lever movement required to start the braking action.
All of the above options are neither right nor wrong, with setups varying significantly even within the same discipline. In order to find out which lever position suits your riding style best, we recommend playing around with all the possible settings until you find the sweet spot.
How can I tune my brakes?
If you aren’t satisfied with the performance of your brakes, you should invest in a few sensible upgrades before ditching your entire braking system and replacing it with a more powerful one. Here’s a list of all the typical problems and their possible solutions. However, given the complexity of braking systems and ergonomics, similar problems can have different underlying causes.

How can I prevent arm pump?
If you’re struggling with arm pump, you’re probably dealing with bad ergonomics. However, sometimes it’s just your hands telling you that you’re squeezing the brake lever too hard. To make up for this, you can try using bigger rotors, brake pads with a higher friction coefficient or longer brake levers.
How can I prevent brake fade?
When you notice a loss of braking power on long and steep descents, you’re likely experiencing brake fade. In other words, the friction coefficient between the brake pad and rotor has suddenly dropped. One way to prevent this from happening is to be more conservative with your braking. Take your fingers off the brakes whenever you can. Selective, efficient braking manoeuvres will prevent the rotor from overheating and thus keep it within its optimum temperature range. If this doesn’t help, or if your local trails are simply too gnarly to take your fingers off the brakes for more than a second at a time, you should try bigger brake rotors, which have a greater mass and thus dissipate heat more easily. Another crucial factor is the type of brake pads used: the grippier the pads, the more friction and heat they generate. Of course, this makes it easier to exceed the optimum braking temperature, which also causes early brake fade.
What can I do about brake squeal?
Brake squeal is often a symptom of an underlying problem with the overall brake system. First of all, it’s worth checking that your bike has been assembled correctly. Is the brake calliper aligned with the rotor? Is the rotor clean and degreased? Is the spoke tension right? Have the pads been bedded in properly? According to MAGURA, the best way to bed-in your new brakes is to accelerate to a speed of 30 km/h on level ground and brake to a standstill, repeating the process at least 30 times per brake. If none of the above works, you’re likely underbraked. In this case, upgrading to a more powerful setup is the next logical step.
What can I do if my brakes aren’t powerful enough?
If you feel that your brakes aren’t powerful enough, you can try raising the front of your bike a little. A higher front inspires more confidence on steep trail sections, which is exactly where you need your brakes the most. However, it’s also possible that the brake itself isn’t the problem, but rather the state it’s in. For example, if the new pads aren’t bedded in properly, they won’t harmonise with the rotor and thus create less friction. Even with older pads, it may be worth repeating the bedding-in procedure to get rid of dirt and debris.
What can I do when my brake has a spongy or undefined bite point?
If your brakes have an inconsistent bite point, the interaction between the piston and seal might be sub-par. This can create a vacuum effect in the brake line, increasing deadband in the brake lever. In this case, we recommend applying the brakes while moving the calliper back and forth to free the sticky pistons. Of course, there could also be air trapped in the system. Unlike brake fluid, air can be compressed, thus making for an undefined bite point. On our website you’ll find a helpful bleeding tutorial for both SRAM and Magura brakes.
Disc brake myths – Pistons, rotors, brake fade, storage and pads
Storing your bike upside down will affect the performance of your brakes.
No, storing your bike upside down won’t mess up your brakes, provided they’re properly looked after. However, if you fail to service them regularly, air bubbles will move from the reservoir into the main cylinder piston or even the calliper, resulting in a spongy, undefined bite point or no action at all. Needless to say, this won’t happen if your brakes are bled properly.
Metallic brake pads ensure more braking power.
Before we even start talking about metallic and organic brake pads, we’ll clarify one thing: both types are manufactured using the sintering process. Therefore, referring to metallic pads as sintered isn’t entirely accurate. Moreover, organic pads can also contain metal particles. In that case, they’re usually referred to as semi-organic – but not always!
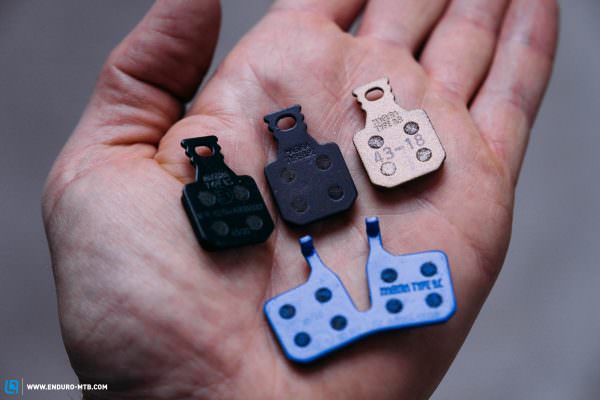
Metallic brake pads consist of metal particles fused together under pressure and usually have a higher friction coefficient than organic pads. Organic pads consist of fibres of rubber, carbon or kevlar bonded together with resin and can also contain metal shavings. The wide range of materials available makes it easier to fine-tune the braking characteristics and organic pads can deliver the same braking power as metallic ones. In the past, organic pads had to be vaporised to complete the hardening process of the polymeric binder and only reached their maximum braking torque after some time. Nowadays, they undergo a post-curing process at the factory, so this doesn’t constitute a decisive factor anymore. The big advantage of organic pads is that they don’t conduct heat as well as metallic ones, transferring less heat from the rotor onto the calliper. While this keeps down the temperature of the braking system, it makes for a hotter rotor because the sum of the released energy is exactly the same.
Four-piston brakes are always better!
As stated above, the braking force heavily depends on the ratio of master to slave piston area. However, the number of pistons says nothing about their size. As a result, a two-pot brake with big pistons can have a similar ratio of master to slave piston area as a four-pot brake with smaller pistons. On the other hand, a four-piston calliper requires less installation space and fits better on the rotor because the pistons are aligned next to each other. However, the ratio of master to slave piston area isn’t the only decisive factor when it comes to braking power. The length of the brake lever, the position of the master cylinder piston on the lever and the ratio of piston to brake pad area all play a crucial role in braking performance.
DOT is better than mineral oil.
The brake fluid transmits the force from the brake lever to the calliper via the brake hose. In the mountain biking sector, we use two types of brake fluid: DOT and mineral oil. Neither can be compressed, meaning all the force you put in at the lever is delivered to the rotor. DOT has a higher boiling point and allows you to use different types of seals. On the downside, it has a tendency to absorb water over time, significantly lowering the boiling temperature and requiring more frequent bleeding to replace the contaminated oil. In addition, it’s more difficult to handle because it’s very harmful and has a damaging effect on paint and plastic. Both systems have their advantages and disadvantages.
Two-piece rotors generate more braking torque.
One- and two-piece rotors share the same outer friction ring, meaning that they have the exact same friction coefficient, thus generating the same braking torque. The main advantage of two-piece rotors is their rivet-design, which allows for thermal expansion, thus preventing heat-induced distortion (warping) on the rotor and the associated brake squeal. However, they’re also more expensive and generate exactly the same braking power as one-piece rotors.
Shiguras combine the best of two worlds.
Shigura is a portmanteau word consisting of Shimano and MAGURA. According to this theory, combining Shimano levers and MAGURA callipers will give you a magical feel that no other setup can achieve. However, the two manufacturers rely on different hydraulic leverage ratios, which causes the pads to touch the rotor at an earlier stage than with a full Shimano setup. Needless to say, this makes for an inconsistent bite point and sub-par modulation.
As you can see, mountain bike brakes are complex systems with many variables and can have a huge impact on your riding performance – from arm pump to responsiveness and overall riding safety. There’s a lot of room for experiments in the brake setup and even small changes can have a huge impact on the brake feel. We hope that this article has encouraged you to work on one of the most important components of your bike – hopefully you’ll soon be able to rip faster, but most importantly, with even more confidence!