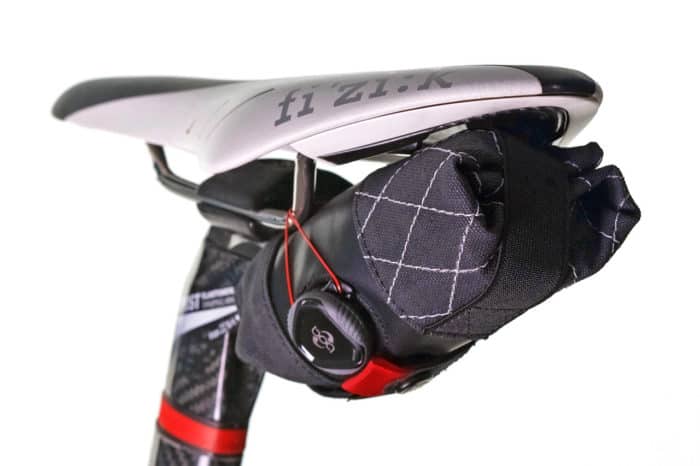
You’ll Be Surprised With What’s In My Saddle Bag
One of the many questions that I’m often asked is,
What do you carry in your saddle bag?
My typical answer would be, well, quite many actually.
I carry the common things like spare tubes, tire levers to the weird ones like a… nail clipper.
There are also other things which I’d carry such as my IDs, cash, mobile phones and a hand pump.
But these usually belong to my back pocket rather than the saddle bag. I’ve tried numerous saddle bags over the years and my favorite is still the Scicon Elan 210 for its value for money.
Head here if you’re looking for my recommendations for the best saddle bags.
At the end of the day, what you put inside your saddle bag is a personal choice.
But from my experience, here’s what I put in mine.
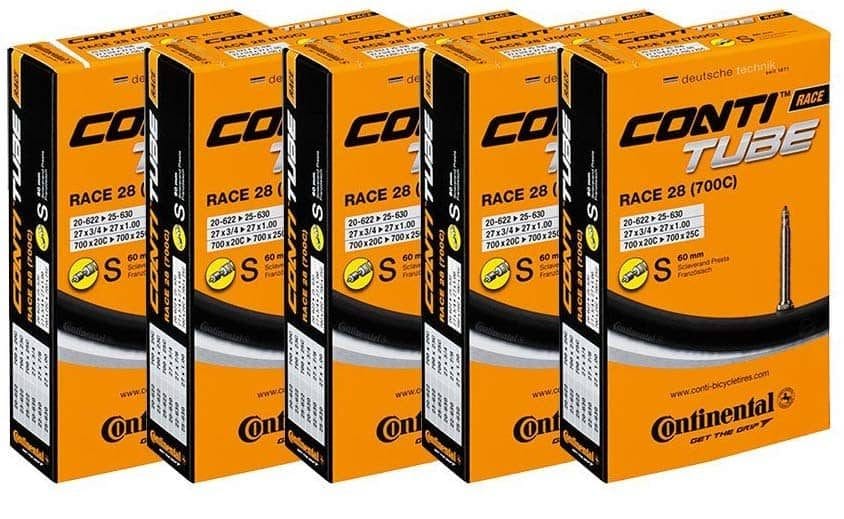
1. Spare Tubes
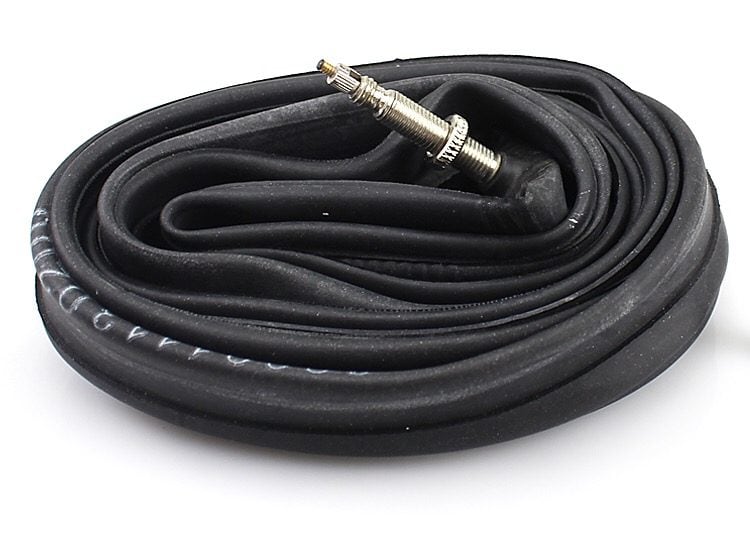
This is an absolute no-brainer and is the very first thing I put into my saddle bag.
But things don’t stop here.
I’ve seen many cases where people either bring the wrong type of tube (Schrader instead of Presta valve or vice versa) or the wrong valve length.
If you ride different bikes that use a different valve type/length, remember to swap your spare tubes over. Better still, have 2 completely different saddle bags for each bike.
If you’re riding a high-profile wheelset like anything above 40mm, make sure you have the right valve length.
Geek Tip : Make sure you bring the spare tube with the right valve type and valve length.
Read More : How to Fold and Roll An Inner Tube Compactly for Storage
2. CO2 Inflator and Canister
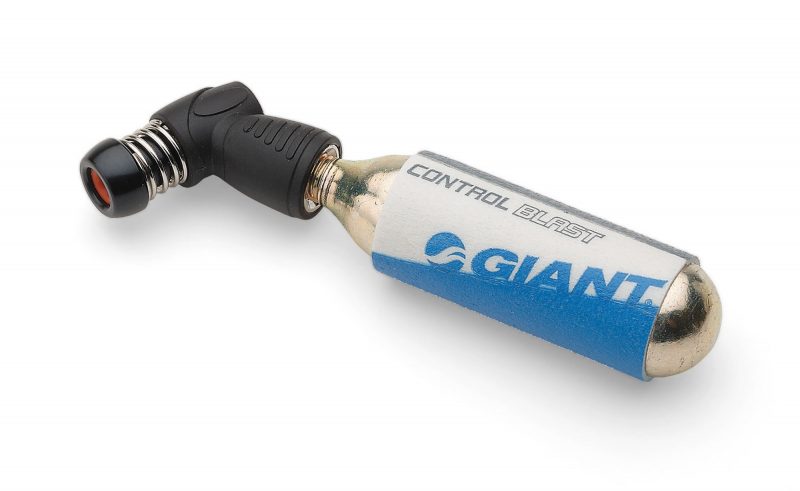
This is important but I wouldn’t categorize it as a must-have for me as I usually bring a hand pump. Now, if you’re going to use CO2 to inflate the tires, make sure you bring the inflator along. Otherwise, it’s as good as useless.
The most common blunder cyclists make with CO2 is not knowing how to use it correctly. If you only bring a single canister and for some reason, you didn’t release the air properly into the tubes, then that’s probably the end of your ride.
The very first thing you should do is to learn how to use it the right way, from tightening the canister into the inflator head and then how to gently release the air into the tubes.
Always release the air with your cycling gloves on as the canister will get icy cold once the air is released.
Geek Tip : Learn and practice to use the CO2 inflator head correctly.
3. Pair of Tire Levers
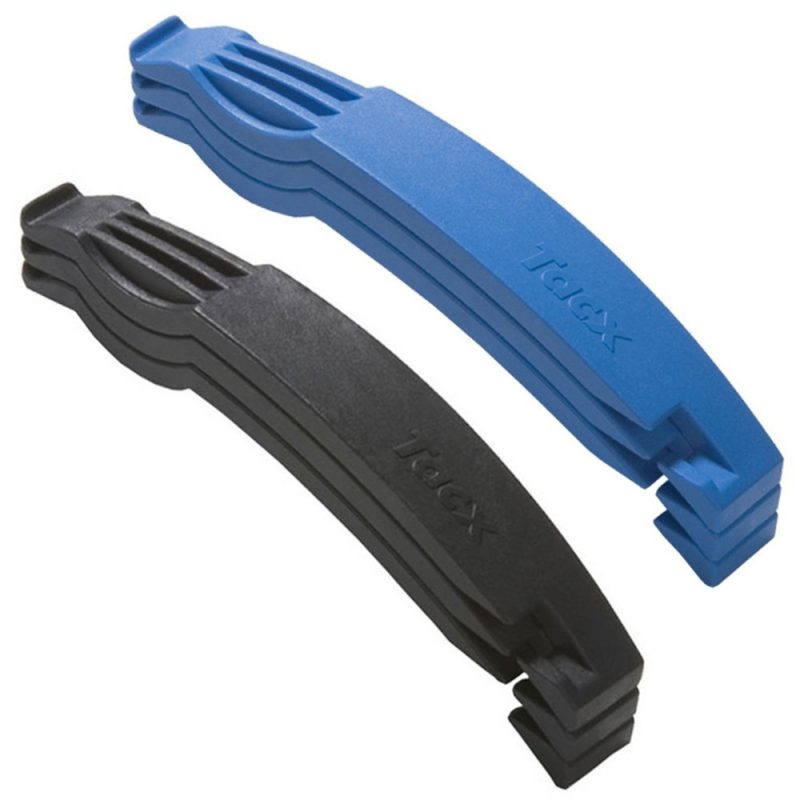
I always bring a PAIR of tire levers with me. In fact, these are the cheapest cycling gifts you can buy for your partner or friend who’s a cyclist. Some tires, especially those with thick sidewalls or wired bead could be a real struggle to remove from the wheels even with tire levers.
You can forget about removing them without tire levers. Some might argue that using a steel tire lever is better than a plastic one. I agree. They’re indeed. But it comes with some downsides.
A steel tire lever, while they’re stronger and more efficient, could potentially damage your rims, especially if they’re made of carbon.
So use them with care.
Geek Tip : Use only plastic tire levers.
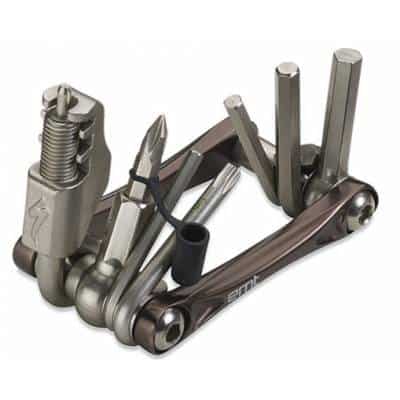
4. Multi-Tool
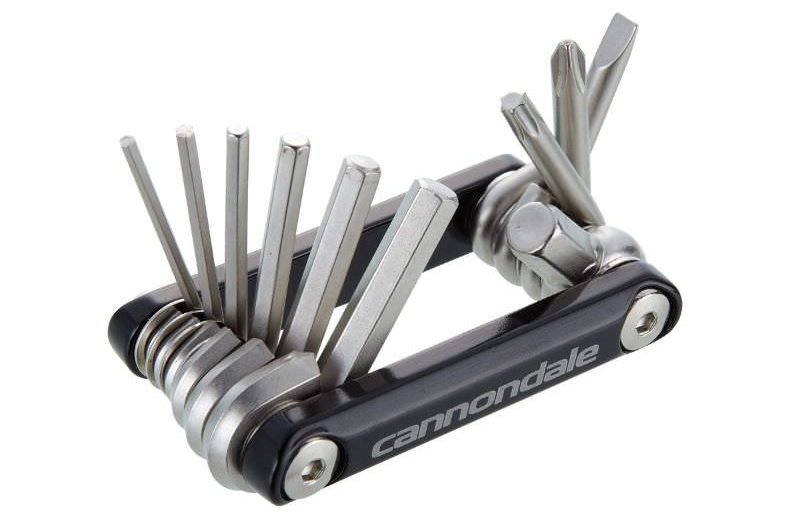
Another of must have bike tools inside my saddle bag.
You just don’t know when you’ll need it!
Multitools come in various sizes. The main difference between them is the number of tools available. At the bare minimum, bring one with the allen keys’ of up to 6mm, a flat and Phillips screwdriver. If any of your bike parts uses a T-25 screw head, then have them too.
Some multitool comes with a chain breaker. That’s an optional choice provided you know how to break your chain and have a spare chain link connector.
Geek Tip : Ensure your multitool covers all the different bolt sizes and shapes on your bike.
5. Patch Kit
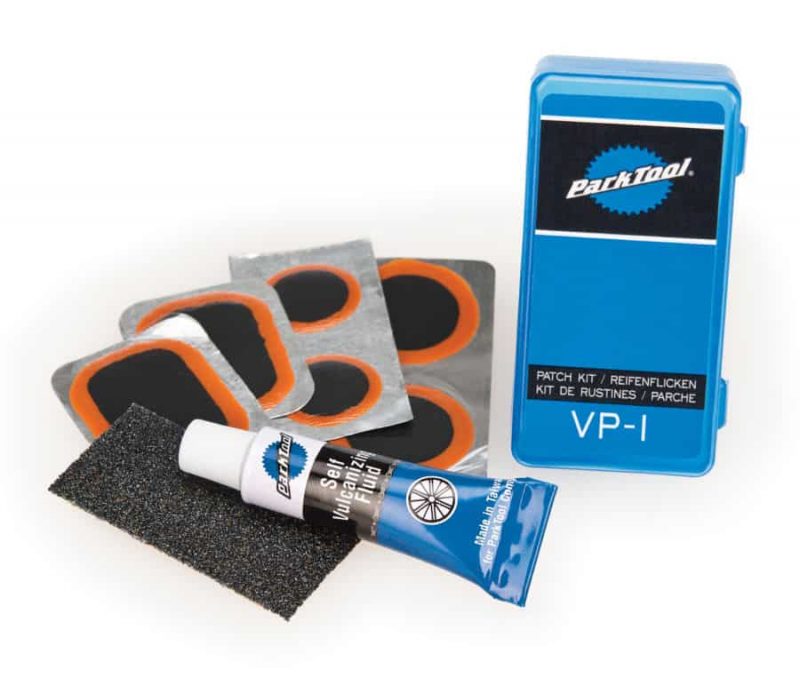
Patch kits are meant to be the backup for my spare tubes in case I’m on a very bad day out and run out of them.
There are generally 2 types of patch kits you can purchase.
- Vulcanizing. This means that you’ll have to apply the glue to the patch and stick it to the tube. Don’t forget to bring a tube of glue with you!
- Pre-Glued. This is a patch with self-adhesive, where you glue them directly onto the tube.
The thing with patch kits is that they can get very messy if you don’t use them correctly. Read the instructions and follow them step by step.
Geek Tip : Practice patching an old tube and see whether the air holds overnight.
6. A Small Piece of Old Tire
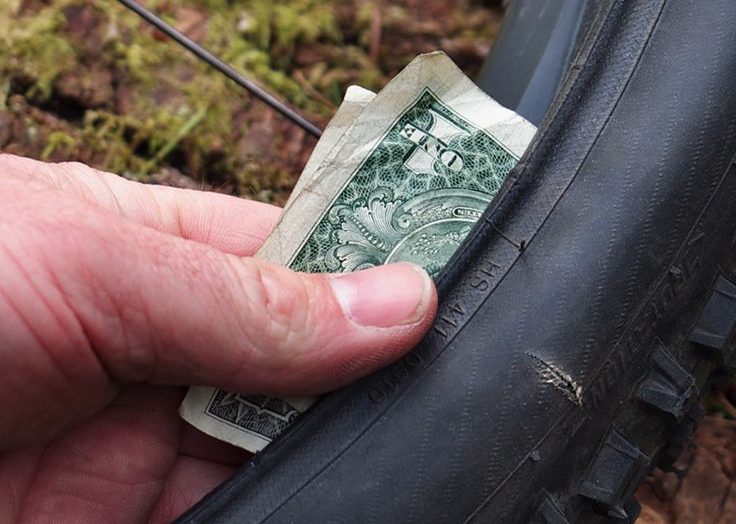
Ever heard of the One Dollar Bill trick to fix punctures?
Well, it’s useful especially if you’ve got a cut on your clincher tire’s sidewall. If you pump up a cut tire, the tube will bulge out and it might end up bursting into pieces.
And that’s where either a small patch of old tire, where I cut into roughly 2″ x 1″ comes in handy, or the one-dollar bill.
Insert it between the tube and the tire. Then you can safely pump the tires up and roll home to get them replaced with a new one.
Personally, I’d prefer using the old tire patch.
Geek Tip : Don’t throw away old tires just yet. Cut them into small pieces of roughly 2″ x 1″ and keep if your saddle bag. Give them to your friends as well!
7. Small Nail Clipper
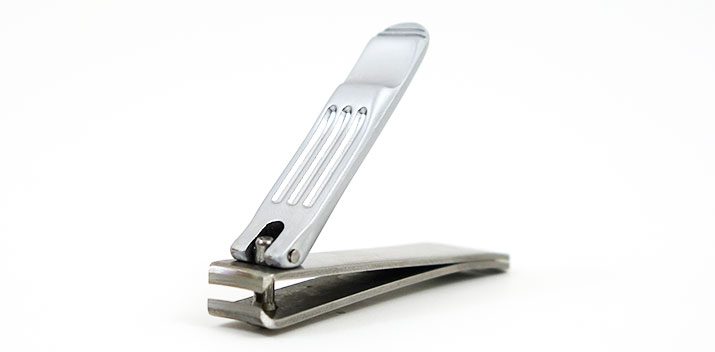
I know this is weird and you’re probably thinking what’s a nail clipper doing in a saddle bag?
As weird as it might sound, the nail clipper is very handy especially if there are small pieces of debris sticking on the tires and I can’t pull them out using my finger nails.
Sometimes, they’re so tiny and I can’t spot them with my naked eyes. The only way to find them is to run my fingers through the tires and feel them.
Geek Tip : A small nail clipper functions like a plier to help you pull out tiny debris from the tires.
8. Presta to Schrader Valve Adapter
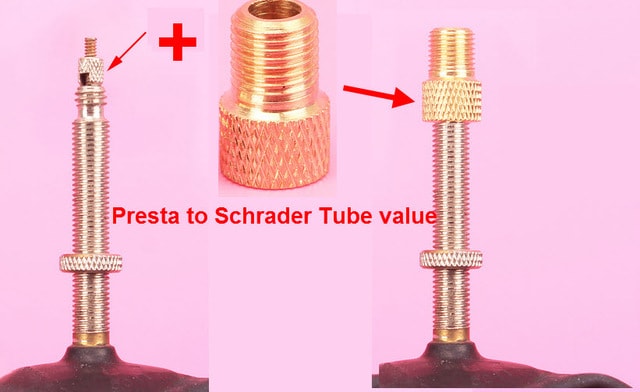
If your bike uses a tube with presta valve (left in picture), then this little adapter could be useful to help you quickly pump up the tires at the gas station.
The air pumps at all gas stations can only be used with a Schrader valve, like the ones used in your cars. You’re out of luck if your tube is a Presta valve.
And that’s where the adapter comes in handy.
Also, do note that most air pumps can only go up to around 60 to 80 psi max. But that should be enough to get you safely home.
Geek Tip : A presta to schrader adapter allows you to quickly pump up your tires at the gas station.
9. Valve Extender
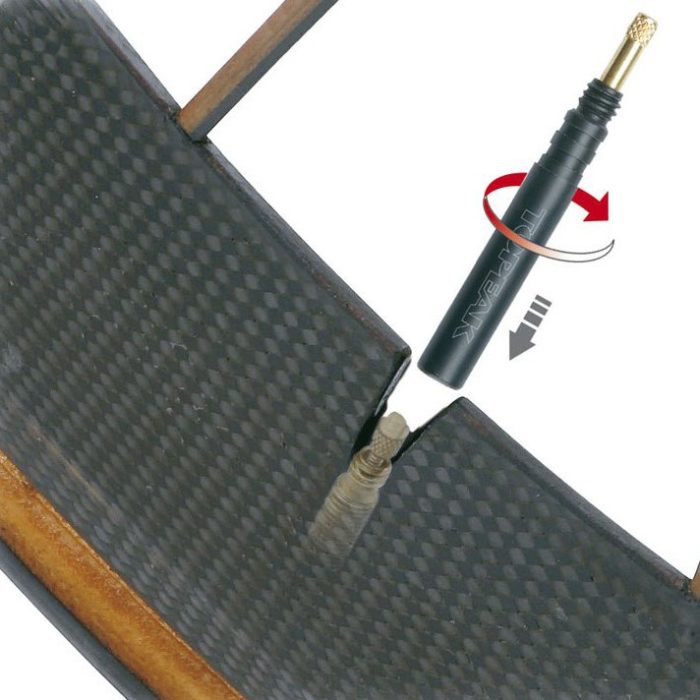
If you ride a high-profile wheelset or anything deeper than 40mm, then remember to bring a spare tube with a longer valve. Otherwise, you can’t pump the tires up as shown in the photo above.
I’ve seen this avoidable mistake happens many times over the years. So, besides bringing the right spare tube, bring also a valve extender, just in case.
Your friends will thank you for that.
I’d recommend getting those valve extenders where you screw in directly onto the Presta valve, as shown in the photo above.
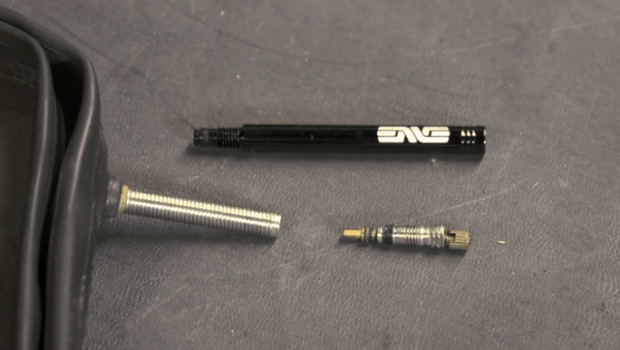
There’s another type that requires the valve head to be removed before attaching the extender. I don’t recommend getting that as things could get complicated especially if the valve head of the spare tube is not removable.
See photo above.
Geek Tip : Get a valve extender where you don’t need to remove the valve head to extend it.
10. Zip Ties
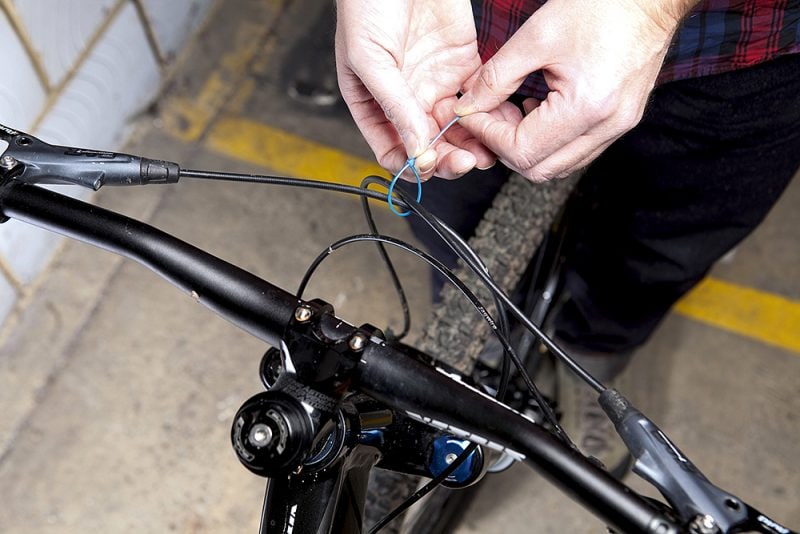
Zip ties are a lifesaver especially when the unexpected, unfixable shit happens.
There is a saying that goes; if all else fails, use a zip tie.
While the zip tie shouldn’t be a permanent solution, it’s a very good temporary solution at least until you get to the nearest bike shop or home.
You just got to be creative in how to use them. They’ve saved my day many times over the years.
Geek Tip : Put a couple of zip ties in your saddle bag.
Author Recommended Reads

