Buyer Guides, Tech -
The Beginner Cyclicts Guide to Disc Brakes
Wondering what disc brakes are all about?
Interested in the advantages that disc brakes give you over rim brakes?
Curious as to why you see so many many bike manufacturers are dropping rim brakes in favor of disc brakes?
We’ll answer all of those questions and more in this article.
Mechanical vs Hydraulic Disc Brakes
Disc brakes come in two varieties; mechanical and hydraulic with hydraulic being the higher end and therefore more expensive of the two.
How do they work and why is one better than the other?
- Mechanical disc brakes work in a similar fashion to rim brakes in that they’re activated by pulling a lever that engages a cable, which mechanically engages the calipers and tightens the pad onto the rotor, slowing the wheel and your bike.
- Hydraulic disc brakes, use the same principle as the brakes on your car. The lines that run from the brake levers to the calipers are filled with brake fluid, which is usually mineral oil. When the brakes are engaged they push a piston, called the mast cylinder, which creates pressure in the brake line, causing the brakes to engage.
So, why is hydraulic better?
Hydraulic brakes require less pressure on the lever to fully engage the brakes. They also offer better modulation than mechanical brakes. This means that you can better regulate the stopping power of the brakes, avoiding jerky stops.
Hydraulic brakes are also a closed system, preventing contaminants from affecting your brakes. This makes hydraulic brakes more reliable than mechanical, which have exposed lines that will eventually stretch over time, or which can get caught on obstacles.
What’s the downside of hydraulic disc brakes then?
One performance compromise hydraulic brakes do have has to do with heat. During long descents the friction created by the brake calipers engaging the rotors for an extended period of time can heat up the brake fluid, resulting in a decrease in brake power.
Rotor Sizes
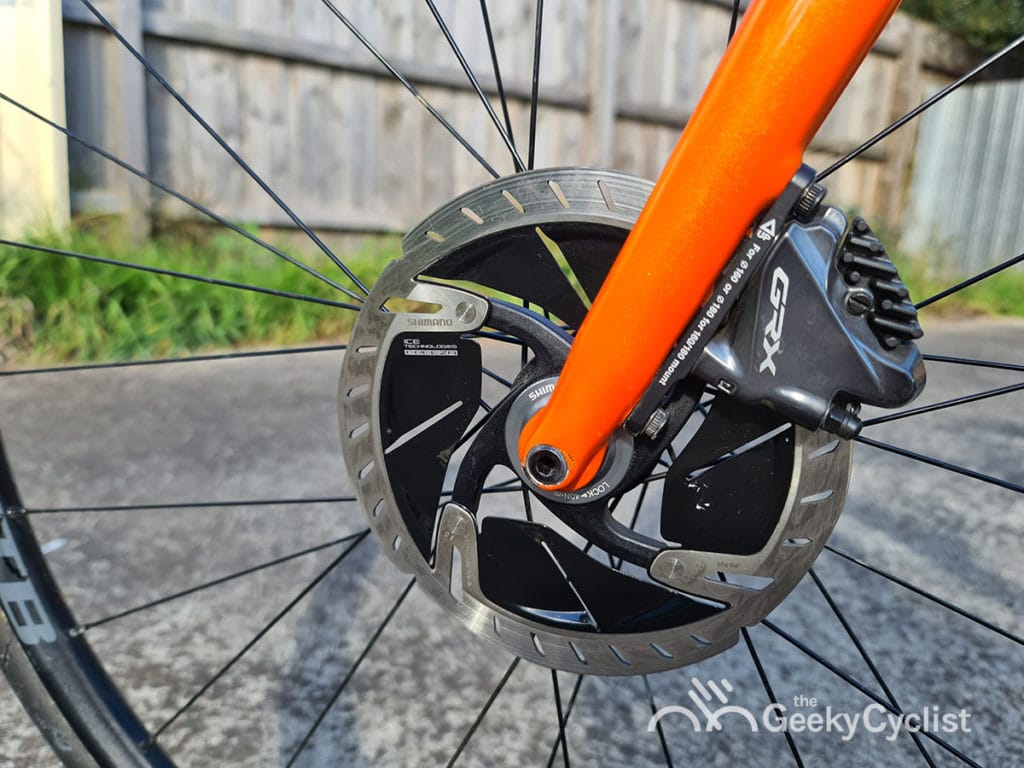
There are several rotor sizes to choose from, starting from 140mm to 160mm, 180mm and 203mm. The rotor size corresponds to its diameter. Smaller sizes are typically used in road bikes and larger ones in mountain bikes.
Why is Rotor Size so Important?
Generally speaking, a larger disc rotor will allow you to slow down faster than a smaller disc.
Larger disc rotors are typically reserved for off-road bikes that require more stopping power due to their higher weight and use on off-road terrain.
Road and gravel bikes, for example, generally have 140mm rotors on the rear and 160mm on the front. Some gravel bikes have 160mm rotors for both front and rear.
Why the Larger Rotors on the Front?
When the brakes are engaged, the weight of the bike shifts to the front, requiring greater stopping power on the front wheel.
Almost all mountain bikes have at least 160mm rotors on the front and rear wheels. This facilitates better braking control on unpredictable off-road terrain.
How Does the Rotor Size Affect Heat Dissipation?
Larger rotors are also less likely to overheat. When a brake rotor overheats, it can cause a decrease in braking power and may also damage the brake pads on the calipers.
Smaller rotors are more likely to overheat as they have less surface area through which to dissipate heat. Brake manufacturers overcome this by using both stainless steel and aluminum in their designs.
Centerlock (AFS) vs 6-bolt – What’s the Difference?
Rotors are held to the wheels using two different methods: centerlock and 6 bolt.
Centerlock rotors are easier to install than 6-bolts due to the fact that they only have one mounting point in the middle.
Six-bolts are more complicated as each bolt needs to be torqued evenly in order to make sure the rotor isn’t bent or mounted off-center.
That said, centerlock rotors are typically heavier than six-bolt. They’re also more expensive.
Read More : The Differences Between Shimano Dura Ace vs XTR Disc Rotors
Thru-Axle vs Quick Release
Wondering what the difference between quick release and thru axles are?
Well, for starters they both are metal rods that keep your wheels attached to the fork and frames, which makes them a pretty important component on your bike.
Origins of the Quick Release
Like most technological advancements in cycling, quick-release axles were born out of demand. Italian bike racer Tullio Campagnolo (yes, the same Campagnolo who would later found the legendary components manufacturer) grew frustrated at the length of time it took him to change gears during a race.
Back in the days of no derailleurs, bikes were fitted with a sprocket on each side of the rear wheel, which allowed for two gear options. In order to change gears, one had to stop, remove the wheel, flip it, and remount it. During one particularly cold race he was leading, Campagnolo’s hands became so numb that he struggled to loosen the wingnuts that secured his bike’s wheel to the frame, costing him valuable time. This experience inspired him to invent the quick release (QR) system.
QR, which replaces a bolt with a lever that can be hand-operated, was pretty much the norm until the advent of downhill mountain biking. When high-flying downhill bikers started breaking skewers and dropping wheels, the need for a new axle design was needed.
What's A Thru-axle Design?
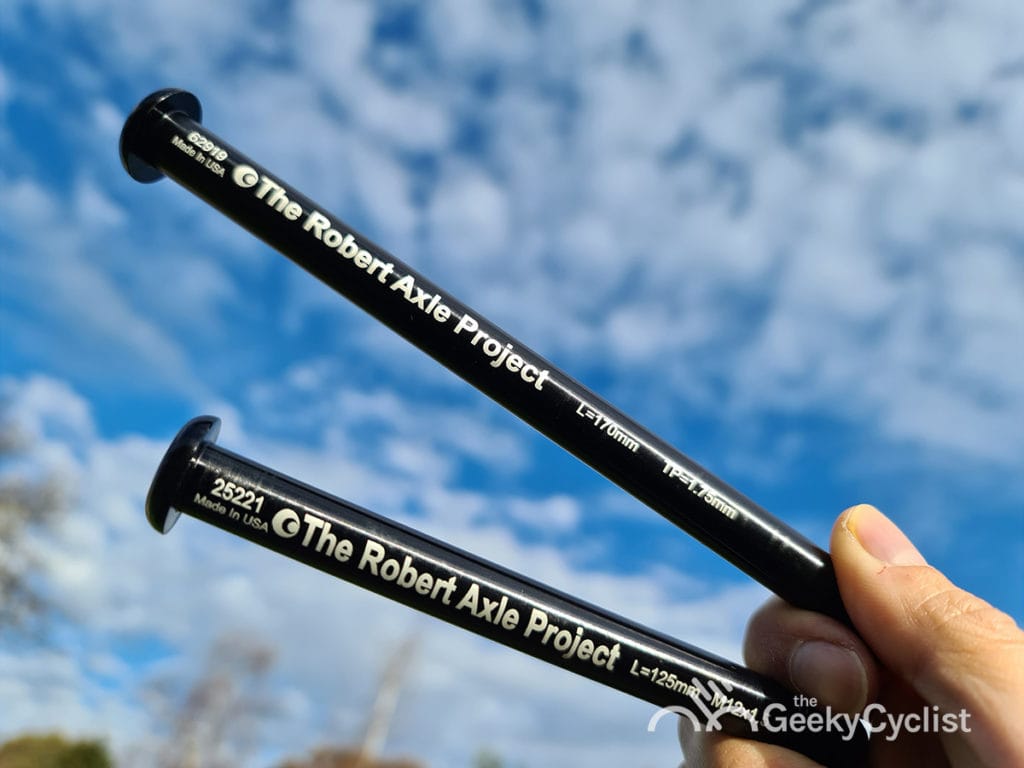
Thru-axle dropouts ditch the u-shape for holes, eliminating the possibility of dropping a wheel. The axles are also a lot thicker, meaning they can handle the rigors of downhill racing or off-road riding.
As a result thru axles are not only safer, but also stiffer, which improves handling and eliminates brake rub. And, with the addition of something called a camming mechanism, they can still be quickly removed.
Now, even more and more road bikes are adopting thru-axles thanks to an increase in the use of disc brakes.
Disc brakes add more rotational force or torsion to the wheel hubs. Thru-axles do a better job of holding up to these forces, keeping the rotors and calipers properly aligned. And if that’s not enough to convince you, these rotational forces might even cause a QR axle might jump out of the fork.
Terrifying isn’t it?
Thre-axle Standards
When purchasing thru-axles, you’ll be faced with some decisions regarding the diameter of the axle. Earlier iterations of the thru-axle were 10mm. For comparison’s sake, you’re typically QR axle is 5mm. Yeah, that’s why thru-axles are stronger.
The latest thru-axles are even thicker, ranging from 12mm to a whopping 15mm. The standard for downhill bikes mountain bikes has become 15mm for the front and 12mm for the rear.
Why the beefier front axles?
Axels on the front wheel are subject to more stress from steering.
Typical measurements for thru-axles on road and gravel bikes today are 12 x 100mm for the front and 12 x 142mm for the rear, with the second number accounting for the length of the axle.
Flat Mount vs Post Mount Calipers
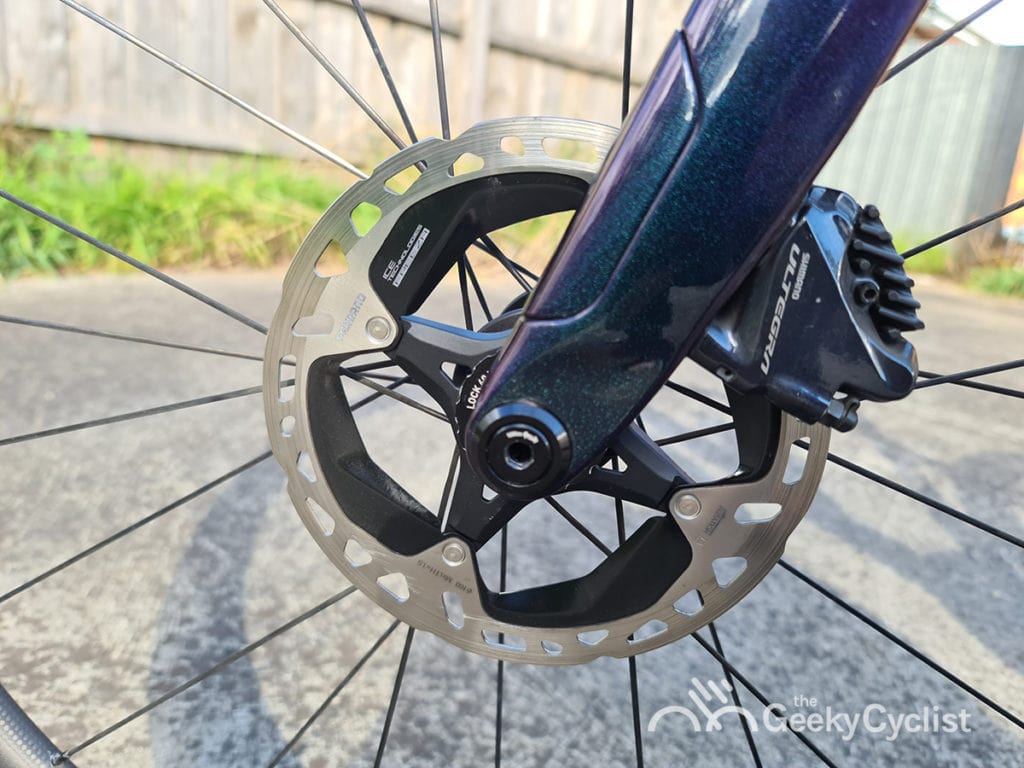
Yet another option to consider for disc brakes are post-mount brakes vs. flat-mount brakes, especially for road and gravel bikes. Things were muddier several years ago but today all of the road and gravel bike frames are designed for flat-mount brake calipers. Mountain bikes still use post-mount brake calipers.
Before having disc brakes in road bikes recently, post-mount calipers were the go-to in all other bikes, especially mountain bikes. They’re easy to install and adjust and in the majority of frames, the rear caliper bridges between the chain and seat stays. This helps to spread the braking load over a larger area, allowing bike manufacturers to design a lighter frame.
Then in 2015, Shimano came out with the flat-mount design with the RS505 and RS805 brake calipers. Flat mounts are smaller and attach flush to the front fork or the rear chainstay, hence the name flat. The bolts for flat-mount calipers thread through the frame/fork first and then into the calipers, unlike the post-mount calipers where the bolt goes through the calipers and then into the frame/fork.
This makes flat-mount calipers much cleaner looking and aerodynamic. They’re also lighter. Because of these characteristics, you’ll find flat mount disc brakes on the majority of road and gravel bikes manufactured from around 2019 onwards.
One of the most commonly asked questions is,
Can I convert install a post-mount caliper to a flat-mount bike frame, and vice versa?
You can install a post-mount brake caliper on a flat-mount frame/fork using an adapter. However, it’s not possible to do it the other way (eg: flat-mount brake caliper on post-mount frame/fork).
If you have an older post-mounted frame/fork and still want to run the latest disc brake calipers, then consider the SRAM Red AXS.
Here’s a little secret. You probably won’t find a post-mounted SRAM Red AXS brake caliper on their website, but they do exist. Ask your local bike shop on part number 00.7018.392.000 and 00.7018.392.001.
There’s no luck with Shimano though. They’re all flat-mounts.
Ease of Maintenance
As with most things that involve technological advancements in bikes, disc brakes generally require more maintenance than their rim brake counterparts.
Rotors and Pads Replacement
For rim brakes, the wheels’ rim serves as a brake track and you’ll need to replace the entire wheelset when the brake tracks are worn. For disc wheelsets, you’ll only replace the rotors when they’re either warped or worn. This helps to bring down the cost of replacing the entire wheelset.
Having said that, there are also costs associated with both rim and disc brake pads. Generally, they’ll last at least 3,000 miles before needing replacement. This also depends on other factors such as overall weight, types of terrain, weather, and how often you brake.
Brake Rub and Squeal
Both rim brakes and disc brakes are prone to brake rub and squeal. The solutions for both are also similar.
Brake rub requires an adjustment to the calipers in order to eliminate this issue; however, adjusting disc calipers is more cumbersome than adjusting rim brake calipers. You can still do it yourself at home after some practice.
Squeal is usually caused by a foreign substance, usually chain lube, finding its way onto either the rim or rotors. This problem is remedied by cleaning either the rotor or the rim with a degreaser.
Bleeding the Brakes
Both disc brake and rim brake cables will eventually need a little TLC. Rim and mechanical disc brake cables may eventually need replacement. This may be the result of damage or normal wear and tear.
The brake hoses on hydraulic disc brakes, similar to the brake lines on an automobile, will need to have their brake fluid replaced/refilled if the brakes start to feel spongy. This is done through a process called bleeding the brakes, in which the fluid is emptied and replaced with fresh fluid.
Bleeding the brakes; however, should only be required when the closed brake system has been compromised somehow. This may be the result of a leak that has allowed air into the system or caused brake fluid to be released.
Total Bike Weight
Although the weight of disc brakes has lightened with the debut of lighter flat-mount options, they are still generally heavier than rim brakes.
This is largely why rim brakes are still preferred especially for those who consider themselves weight-weenies.
The calipers, rotors, levers, hoses, and fluid of a disc brake set up are generally heavier than a rim brake set up, which is way simpler.
Most disc brake bikes also use heavier thru-axles compared to a lighter quick-release.
Using Disc Brakes in Races

Although disc brakes have been around for more than 10 years, it has only been recently that serious road cyclists have begun to use them. Why?
As with most sports, much of the technology trends within the sport are driven by the pros. After a two-year trial period, in 2018 the UCI finally allowed the use of disc brakes in all pro races.
Since then, disc brakes have infiltrated pro teams with many completely switching over to disc brakes such as Bora-Hansgrohe, Deceuninck–Quick-Step, and Team Jumbo–Visma.
One such exception in 2021 is Ineos Grenadiers who is still on rim brakes albeit the fact that they’re most well-funded World Tour team.
Author Recommended Reads

