Care & Maintenance, Cycling Tips -
7 Things to Know Before Moving to A Tubeless Set Up
Tubeless is a major buzzword in cycling today. But what does it entail?
You’ve heard the many benefits of switching to this somewhat novel sensation (on the road at least), in particular the increased puncture resistance.
Who wouldn’t want to get on board with that?
Going tubeless looks and sounds easy, but is it really?
If it sounds too good to be true, it probably isn’t. You aren’t entirely wrong, but not 100% right either. There is a learning curve, but the advantages outweigh any inconveniences.
To make the transition as painless as possible, let’s focus on 7 things you should know before moving to a tubeless tire setup. After that, it’s up to you!
On This Page
Check the Tire Compatibility
Bicycle tubeless tires work the same way as those that go on cars and motorcycles. The contact between the tire bead and wheel rim is airtight, which replaces the need for an inner tube. It’s internal pressure that maintains this seal and keeps a tire inflated. But one of the largest recurring problems with tubeless is tire compatibility.
There are non-tubeless conversion kits, but I recommend the use of proper ones to eliminate reliability and safety issues. Check tire packaging to verify if it’s tubeless or not, inspect the sidewall for the printed words tubeless-ready (TR) or the symbols TL (Tubeless), or UST (Universal System Tubeless), or verify the manufacturer’s website directly.
Tire compatibility is one major drawback to a tubeless set up which limits options for the moment. The industry is inching toward ETRTO (European Tire and Rim Technical Organization) standards to improve this issue but they aren’t there yet. Check those rims, sidewalls, labels and refer to product websites to be sure.
Geek Tip : A bike can come with tubeless tires, but that doesn’t mean they’re set up that way.
Check Your Wheelset Compatibility
Tubeless tires need equally compatible tubeless-designed wheelsets. The tire bead and rim work together to create that air-tight seal you need. The rim bed must also be 100% sealed to prevent air from escaping.
If it isn’t closed already, get yourself some adhesive tape like Stan’s destined for this purpose. Buy more than you think you need (if you have to buy it). If you don’t use it, you’ll have it for later.
The trick is to pull the tape tight as you go. You should even hear a stretching and almost snapping noise as you pull and lay it down firmly over the rim bed. Tubeless and tubeless-ready rims can have both a hook and a hook-less design, so if you aren’t sure, look for the same type of symbols we mentioned for the tires.
Like tires, non-tubeless rims can be converted, but they may take you down a rabbit hole where you don’t want to go. Be it tubeless or tubeless-compatible in the end, the two components must speak the same language for the system to work. A hookless tire will not work with a hooked rim, for example. But you can run a tube in a tubeless system.
Read More : 9 Questions to Ask Before Building A Custom Wheelset
Use the Correct Valve Length
Just to make it easier on you, tubeless valves look like a Presta valve and come in different lengths. This is the result of the many wheel manufacturers and rim profiles on the market today. And as tubeless wheels become more prevalent, the options are going to grow.
Like Presta, a tubeless valve stem is threaded. Make a tiny x over the valve hole, just large enough to pass the tip of the stem. Let it make it the size it wants in the opening, it’ll give you a better seal.
Once installed, a nut tightens down from the spoke side of the wheel to hold a rubber grommet on the valve tight against the rim bed. So hold back on any roadie reflexes you may have to throw that nut in the garbage; now you need it.
Geek Tip : Add 15mm to the rim profile to determine your valve length you need.
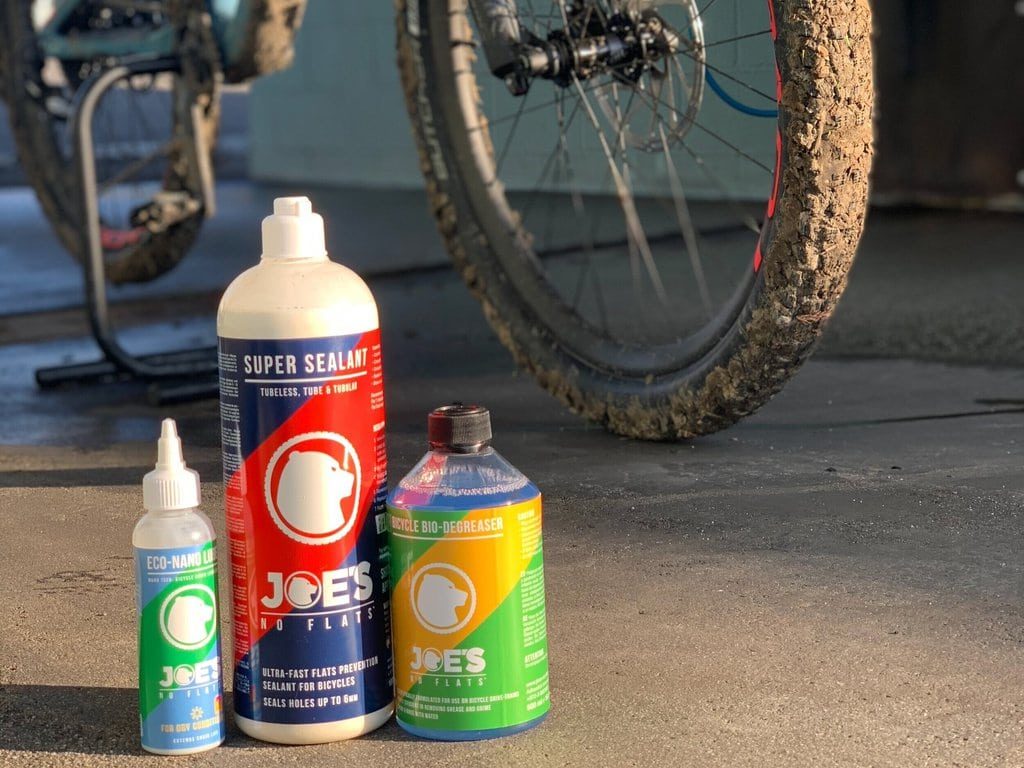
Don't Forget the Tubeless Sealant
The tire sealant is an imperative part of a tubeless system. It isn’t a requirement, but it’s the sealant that quickly heals small punctures. A good sealant won’t do much against larger, sharp objects; you can’t have it all.
Sealant recipes vary, but latex is a common ingredient. Find one you like and stick to it. Mixing brands may create a chemical cocktail you don’t want brewing in your tire.
If you switch brands, clean the inside of your tire with soap and water. Sealants have a shelf life too. If you forget about it for too long, it dries up in your tires and it becomes challenging to remove your tire. Top up or replace the sealant every four to six months. Tires in warmer temperatures or those used little will dry up faster.
How much sealant do you need?
Read your label to be sure.
- Mountain bikes : 2 to 3 ounces. If you’re running larger tires, bump that up to 3 to 4 ounces.
- Road, gravel and cyclocross : 2 to 4 ounces depending on the width (25 to 28mm = 2oz, 40mm+ = 3oz).
Having extra isn’t a big issue since it’ll prevent it from drying up faster.
Geek Tip : Don’t forget to top up your sealant from time to time.
Important Tools You Need
We’ve touched on the sealant, valve, and adhesive tape, but if you don’t have a compressor handy (the gold standard), then get yourself a tubeless air pump. They are like standard pumps, but you can pre-charge the chamber to release the air all at once.
You’ll need plastic tire levers to get those suckers on your rims, as the tolerances have to be tight to create that seal. Get yourself a valve core remover and a sealant injector too.
Remove the valve core with the removal tool and use the syringe to inject more sealant into your tires every few months. It’s a mess-free alternative to breaking the seal on something that’s already holding.
Geek Tip : You’ll need a tubeless bike pump (or air compressor) to seat the tires.
Things to Bring During A Ride
Tubeless isn’t a perfect system, so you’ll need to be prepared for any eventualities. One thing I would recommend is a tube.
Yes, yes, you’ve taken many steps and potentially invested a fair amount of money to go tubeless, but if all else fails, that tube just may get you home.
The sealant (well named, isn’t it?) should take care of small punctures, but the system isn’t immune to larger damage. Bring along a tubeless repair kit and some CO2 cartridges (and gloves) to create the pressure needed for that cherished pop sound on the side of the road or trail that’ll be music to your ears.
If you’ve got the space, bring along your valve core remover and an ounce or two of sealant.
Read More : 10 Essentials to Carry in Your Saddle Bag
Do A Dry Run
We’ve covered the importance of sealant in your new tubeless setup, but there is no rule that prevents you from doing a dry run before anything else. Doing so will safely verify the compatibility between your rims and tires, and reveal the harmony the two create before you add any sealant at all.
Save yourself some money and a huge learning curve mess by doing a dry run. If everything is copacetic, break out that valve stem remover and seal injector to add the ounces of sealant you need for your tire width.
Just don’t leave it to the last minute.
Geek Tip : Leave your new tubeless tires pumped up overnight to see if they’re ready to ride (and have a Plan B).