[Tested] Cushcore Tire Inserts
I’ve got to admit, when the tire insert craze first hit, I was fairly apathetic towards the whole thing initially. Living in the Santa Cruz area, most of the trails aren’t very rocky, so flat tires are rare for me, especially given that I’m not afraid of high pressures. Another reason for my aversion is that I really, really hate unnecessary weight, particularly rolling weight, as it really deadens a bike and tires you out. With that in mind, one of Cushcore’s more provocative selling points is that they claim that with an insert installed, you can often get away with a lighter duty casing to help offset the added weight. Anyhow, a couple of months ago I travelled back east to race DH at the US Open, and as a native, knowing how rocky Killington is, it was the perfect time to dive in.

Cushcore’s main claim is that their inserts are far more than just flat prevention, and that the tires improve ride quality by damping impacts and taking the edge off. As someone who isn’t ever in a hurry to run low pressures, I was a bit skeptical, but wanted to give them a chance. Over the last few months I rode them installed in the tires of both my Enduro and DH bikes, here’s how they treated me…
Details
- Standard Size
- Fits 26”, 27.5”, 29” wheel diameters
- Fits tire widths 2.1 – 2.6″
- Fits internal rim width 22 – 35mm
- PLUS Size
- Fits 27.5″ wheel diameter
- Fits tire widths 2.6 – 3.0″
- Fits internal rim width 32 – 45mm
- Weight – 27.5″ – 250 grams (tested at 261g w/valve), 29″ – 260 grams, 27.5PLUS – 290 grams
- $149 USD per pair (valves included)

What sticks out about Cushcore amongst a sea of competitors is their unique shape. There are a few factors at play here. First, there is a section that nestles about 5mm into the drop center of the rim, unlike round shaped inserts.

Cushcore has a curved shape to it that tapers out and gets narrower toward the edges. As it fills out the tire, it gets compressed and takes the natural shape of the tire, putting the thickest part in line with the outer edges of the rim.

That section, and the tension from the insert itself helps to apply pressure between the tire bead and the rim hook. This helps to prevent burping. Since it’s such a snug fit all around, there are four grooves placed throughout which allow for air to pass through. This makes for easy inflation with a floor pump.

Speaking of inflation, Cushcore inserts require their special valve with two orifices that sit perpendicular to where a standard valve opening typically would. This allows you to inflate them, even with the insert pressed right up against the butt of the valve. The standard 44mm valves that ship with a set of inserts come in Green, Black and Red. A 55mm set of valves is also available for deeper rims. The aluminum caps are truly a nice touch, but they are a bit tough to unscrew with cold, wet hands – some knurling would be nice.
Installation
Largely speaking, tire inserts have developed a bad reputation for making the tire installations/removals far more difficult. I’d estimate that blame is to go around, and there are a handful of inserts that aren’t very well designed, and do make installation more difficult. I’ve also met hordes of people who are completely and utterly clueless about how to *properly* change a tire.
In my experience, the Cushcore inserts did add some strain and complications, but if you actually follow their video above, installation is not that difficult. It’s worth noting that with the mid weight Schwalbe “Super Gravity” casings that I ran on my DH bike, things were a bit tight. With the lighter weight and more pliable “Snakeskin” casing, installation was a breeze and required no tire levers. Given that, I’m sure it’s quite difficult to install the inserts with a heavy duty DH tire with a wire bead. Anyhow, here are a couple of tips, plucked from the video highlighted above, which make all the difference in the world…

Spray the inside of the tire with diluted dish soap. This helps things move around and slide into place.

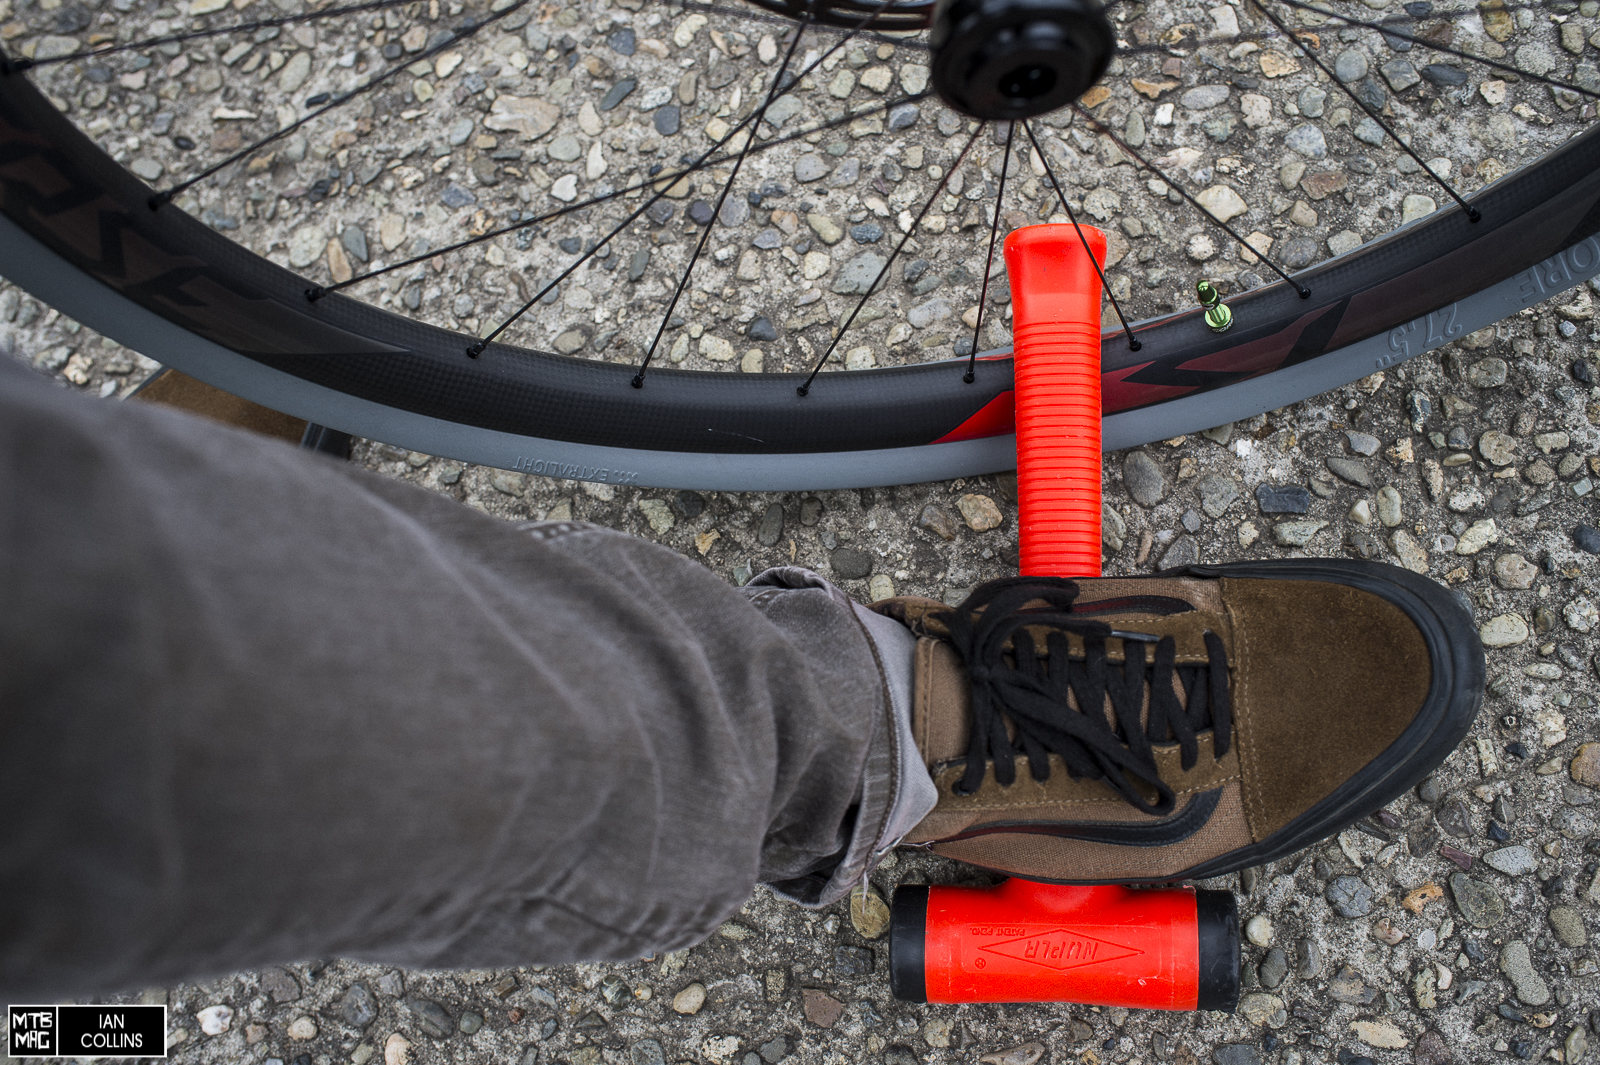
Install the Cushcore onto the rim without the tire on. Use a hammer or mallet to hold everything in place on one end, while you stretch the insert from one end to the other end.

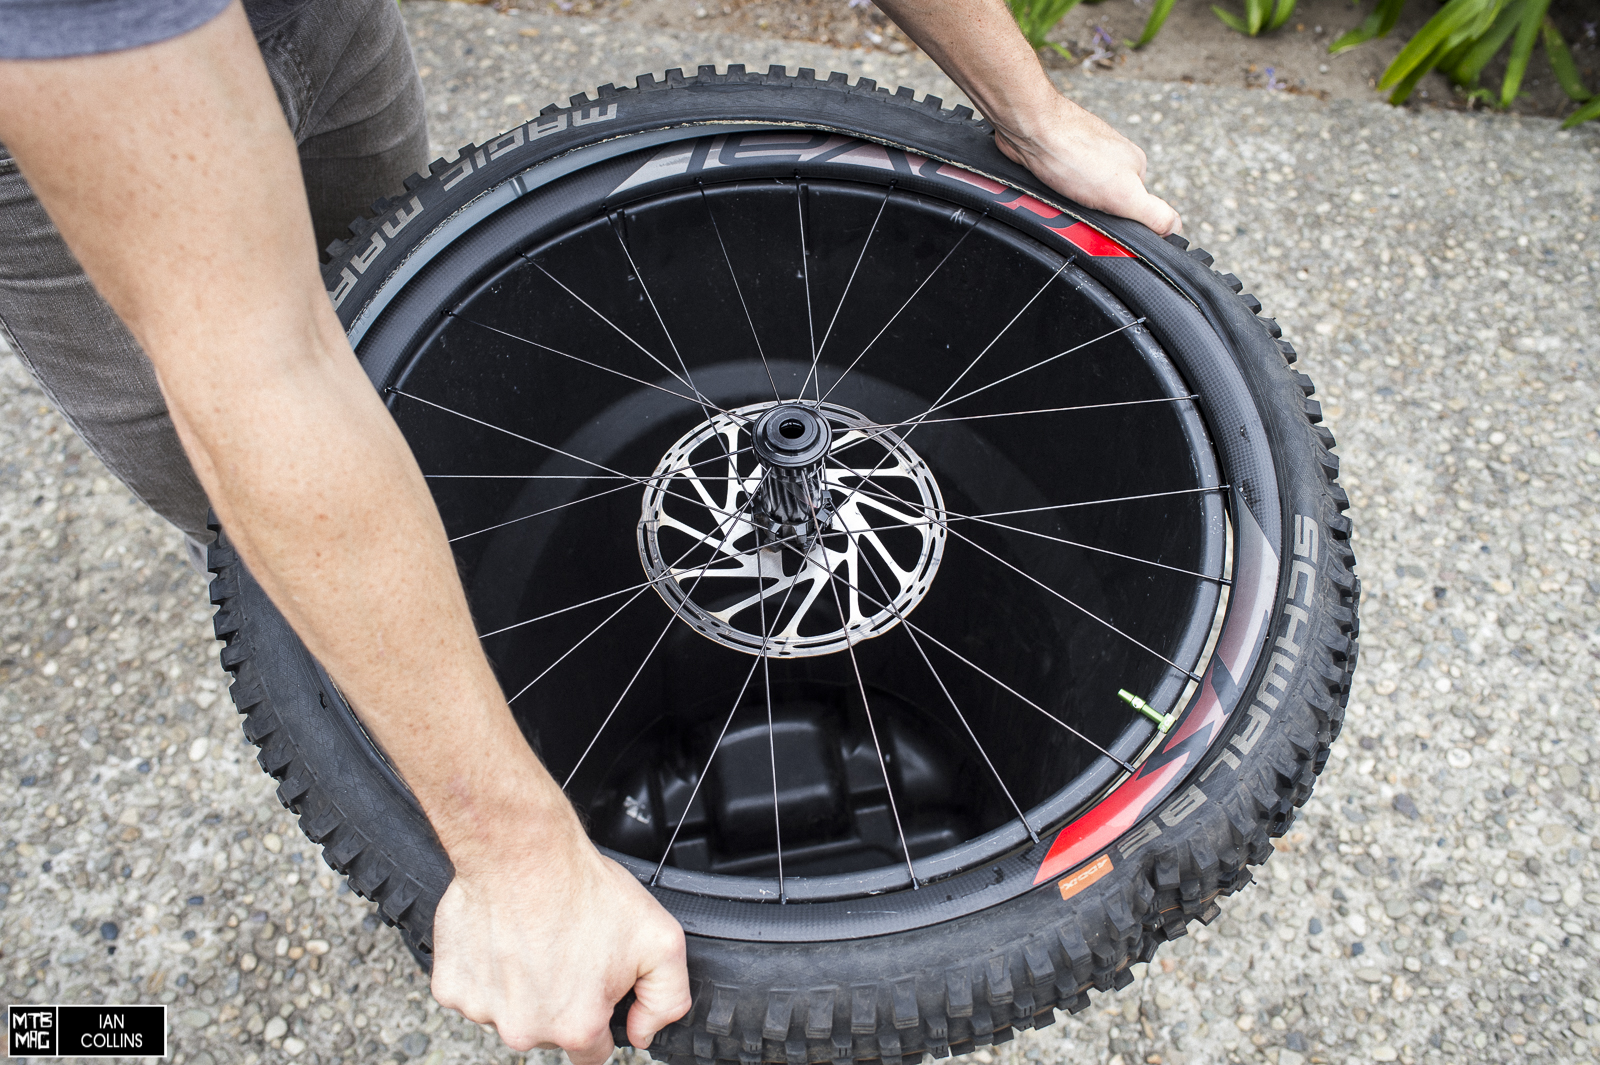
Find a big, round trash can to do the muscling on top of. This is quite possibly the best tip in the video – without it, you’ll be sweating and swearing.

In two motions, with the butt of your palm, push/roll the insert away from the part of the rim that you’re trying to get the bead into, then work the bead into said space. Since you’ve just moved the insert out of the way, the bead can drop in without as much difficulty.

Using two levers is key – one to hold one end of the bead in place, the other to gain ground on the other end. Another good use of the lever is to use it to jam the bead down into the drop center of the rim. Last, but not least – as the installation is a bit on the snug side, it is required that you use a syringe to inject a couple ounces of sealant through the valve after removing the valve core. This is the final step before inflation.
On the trail
With about a 500 gram increase on 27.5″ wheels, I opted to try lighter duty casings and offset the weight on both my Enduro and DH bikes. For what it’s worth, it was about a wash on the Spartan and other Enduro bikes that I tested the system on. On my Maiden, it was about a 300 gram difference between the mid weight, foldable casing and a wire bead DH tire, thus adding about 200 grams with lighter casings. I first rode Cushcores in Killington, Vermont, racing the US Open. It was my first DH race back East in about 15 years and my first DH race in general in 13 years – my have bikes changed over the years. Initially I started erring on the high side with tire pressure (~30 psi fr./rr.) and didn’t notice too much of a huge difference unless I really slammed the rims on rocks. Once I started working my way down, my jaw was on the floor…

Over the weekend, conditions took a turn for the worse and I eventually ended up all the way down to 21 psi front and 23 psi rear – numbers I would never previously dare venture towards. At 190 pounds without gear, I typically don’t stray too far under 27 psi, so I was quite surprised that I not only didn’t flat, but didn’t burp in the rough, squared off turns. While not burping was nice, the tires never even rolled over when pushed super hard. Rather, they held good form providing amazing traction and control, helping even in braking bumps. For this, I credit the clever shape of the inserts, something unique to Cushcore, and not a feature of all tire inserts, in general. Snappy turns aside, other impressive attributes were the gobs of additional traction, rim protection, flat prevention, and last but not least – damping. Running lower than usual pressure, traction was through the roof while rim strikes were quietly devoured into the foam, becoming much less violent. I didn’t flat once, even with a lighter duty tire, but perhaps best of all, I felt more connected, glued to the ground and the inserts really took the edge off, thus confirming the brand’s seemingly lofty claims.

On the bikes that I had to pedal uphill, I went to lighter casings and didn’t notice a weight difference, which was nice. What I did find however, was that you had to be more vigilant about tire pressures and said pressures are harder to ballpark with a squeeze of the hands – you need to use a gauge. Thinner casings are far more compliant, and the foam is rather firm. This created a tire that felt like it almost had two different sections, with different feels. When pressures got down to the low 20’s, the tires would roll way too easily. It never burped or flatted, but just felt squirrelly, particularly on hardpack. However, in the mid 20’s, it was just right, taking the edge off, acting as a nice buffer between rocks and rims, and just damping things in general. One thing to keep in mind is that if you’re heading out on big rides with Cushcores installed, you may want to carry the following additional bits: two tire levers, a tire boot, and a Dynaplug. Having to fix a flat in the middle of nowhere sucks, but with the added complications from tire inserts in general, it’s best to be prepared. Anyhow, on the non-chairlift powered bikes as well, with the weight being a wash, I also preferred the feel of a thinner tire with Cushcores to a heavier duty tire without, hands down.
Overall
In the grand scheme of things, Cushcores would easily rate as one of the best dollar:benefit upgrades you can put on your gravity oriented mountain bike, particularly if you ride rough, rocky terrain. It’s hard to gauge how beneficial they’d be in a light duty, short travel 29″ bike that’s meant for long alpine missions, but depending on the terrain and your riding style, it also might well be worth it, at least in the rear. The only foreseeable downside is that for DH racers running a wire bead tire, the installation and removal would likely be really tough. Personally, I don’t tend to flat too much in general, so I got away with a mid-weight, foldable casing and I’d think that many others could run the same setup for Enduro or DH racing. Either way – from the shape, to the foam density, to the valves – every design element of Cushcore is incredibly well thought out, and the installation isn’t all that bad. Whether you flat a lot, blow up rims, or just want a better ride quality when you’re pushing hard, for only $149, you’d be foolish not to try these inserts – I can’t recommend them enough.
The post [Tested] Cushcore Tire Inserts appeared first on MTB-MAG.COM.
